Databases
The Hosting menu item comprises the following sub-pages: Overview, Settings, Databases, FTP, SSH, Cronjobs, Backup, ModSecurity, SSL certificates, Software, Statistics, and Monitoring.
In the Databases view, the following options are available to you:
Databases
Here you manage databases that have already been created and create more as required.
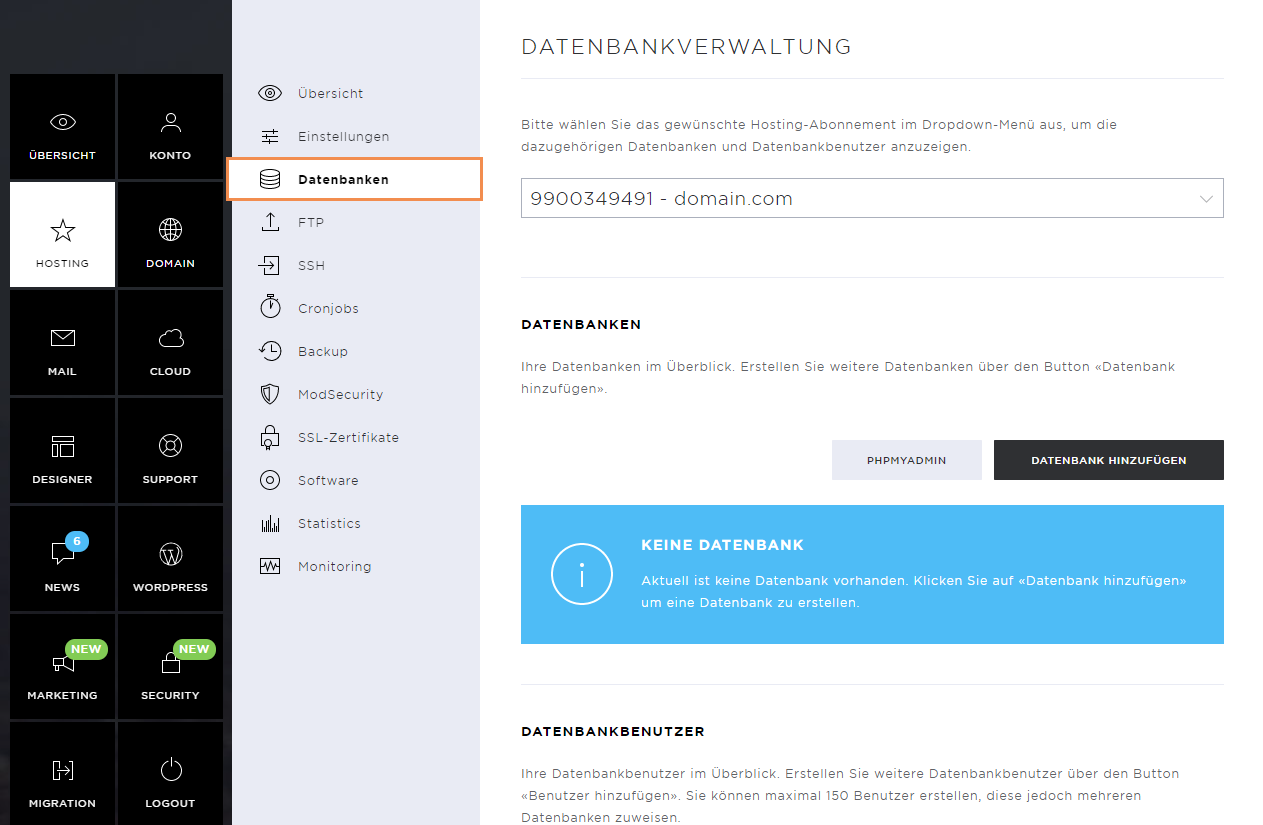
Add Database
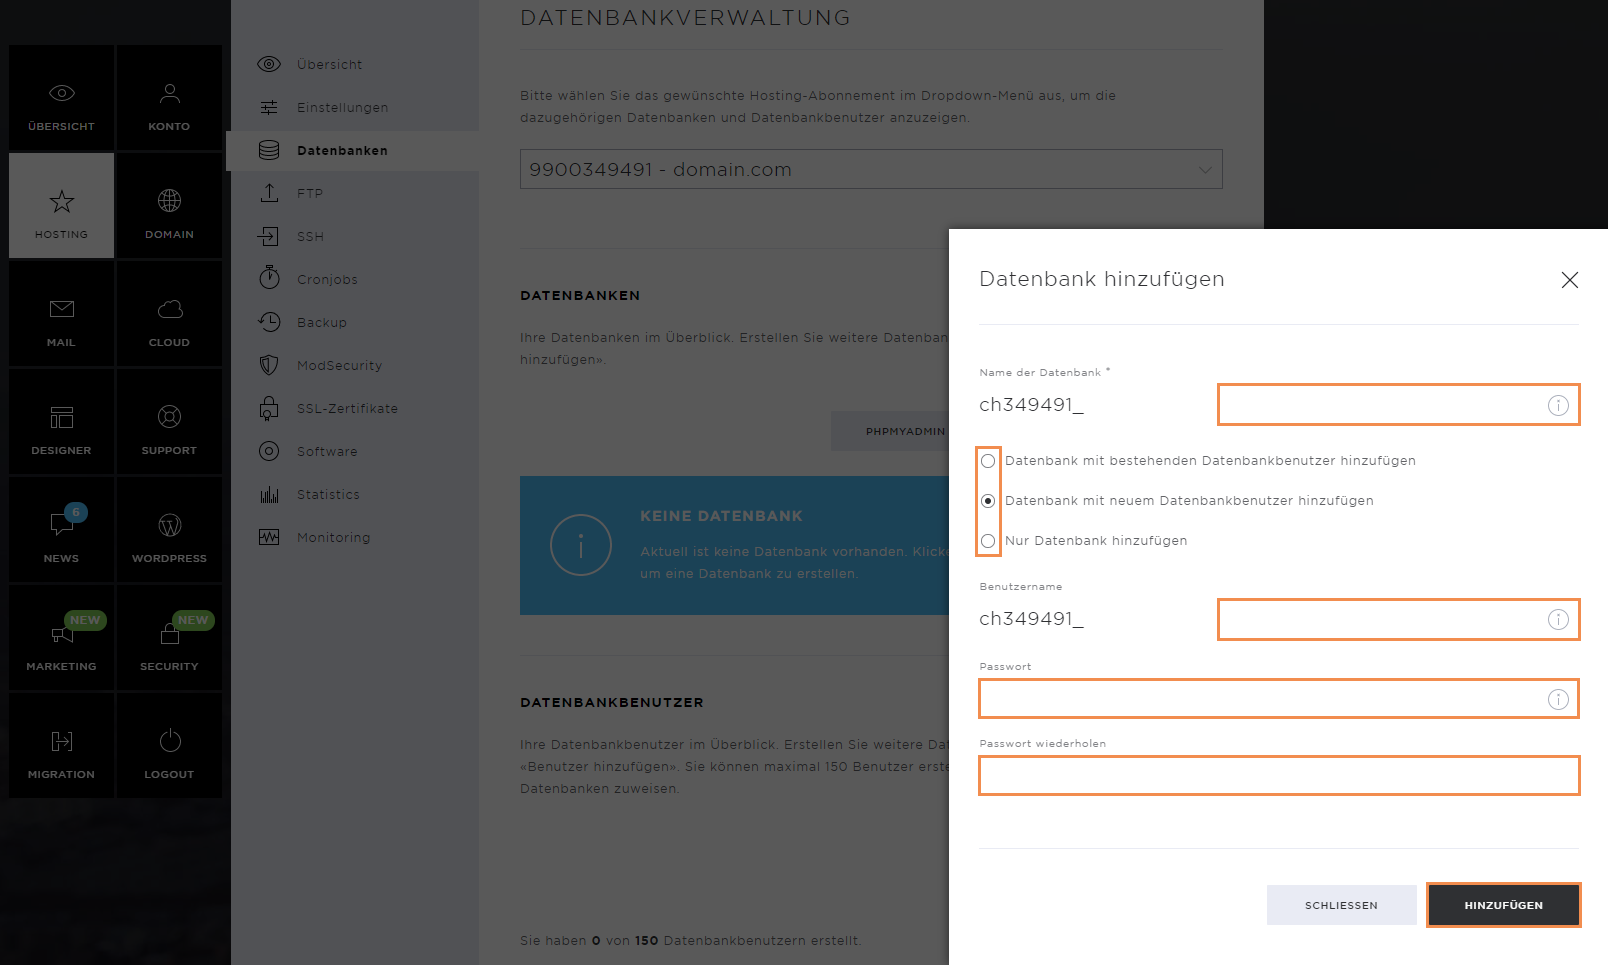
To add a new database, click on Add Database.

Now define the database name. If you do not yet have a database user, you can also add one.
Next, define a password for the database user and confirm the creation of both the database name and password by clicking on Add.
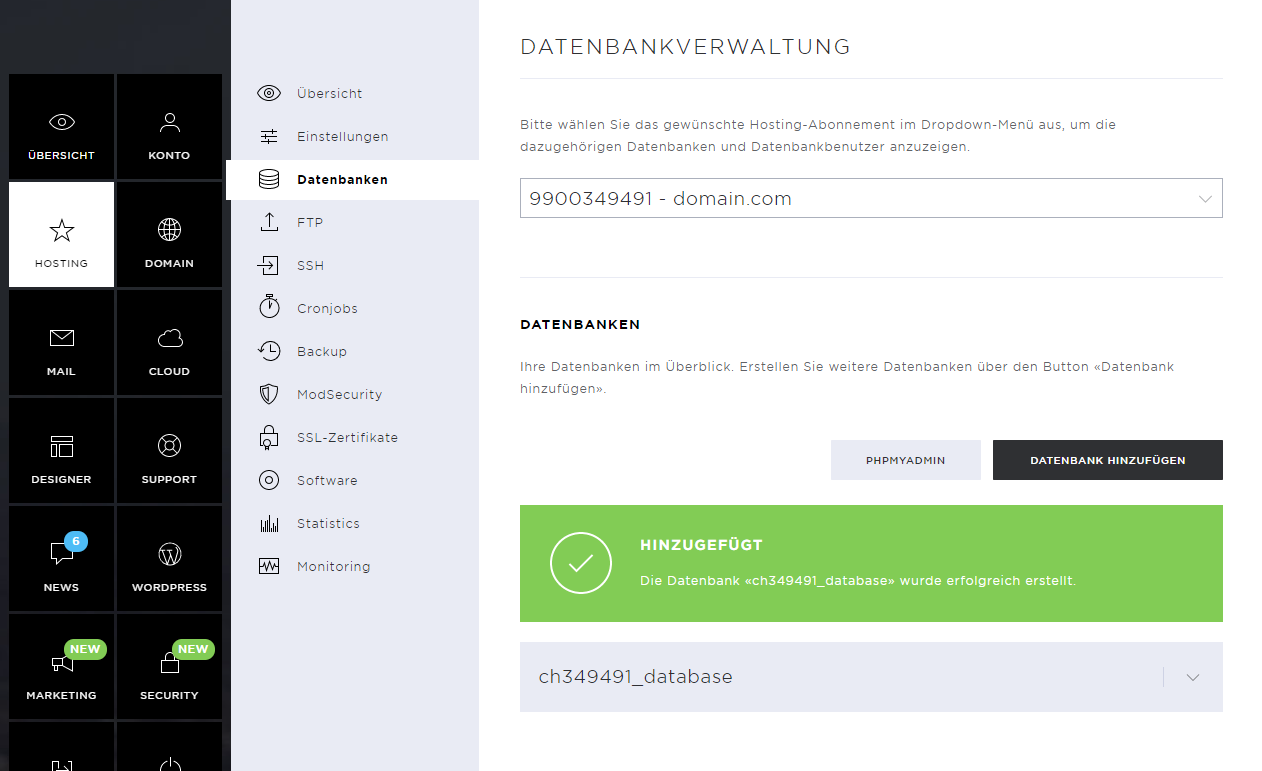
As soon as the database and the database user have been created, a corresponding success message appears.
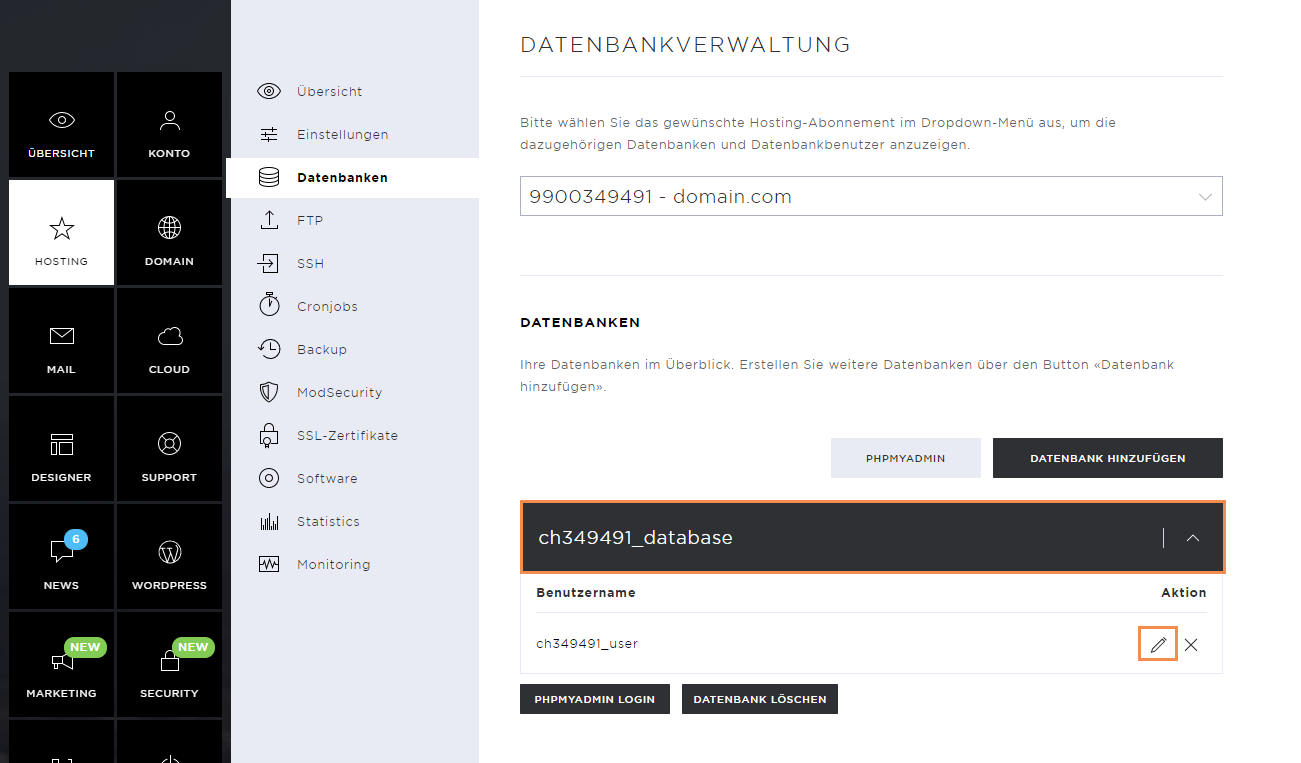
Set permissions
Depending on the area of application, the database user may need further authorizations. You can set these by clicking on the database name and then on the pencil icon.
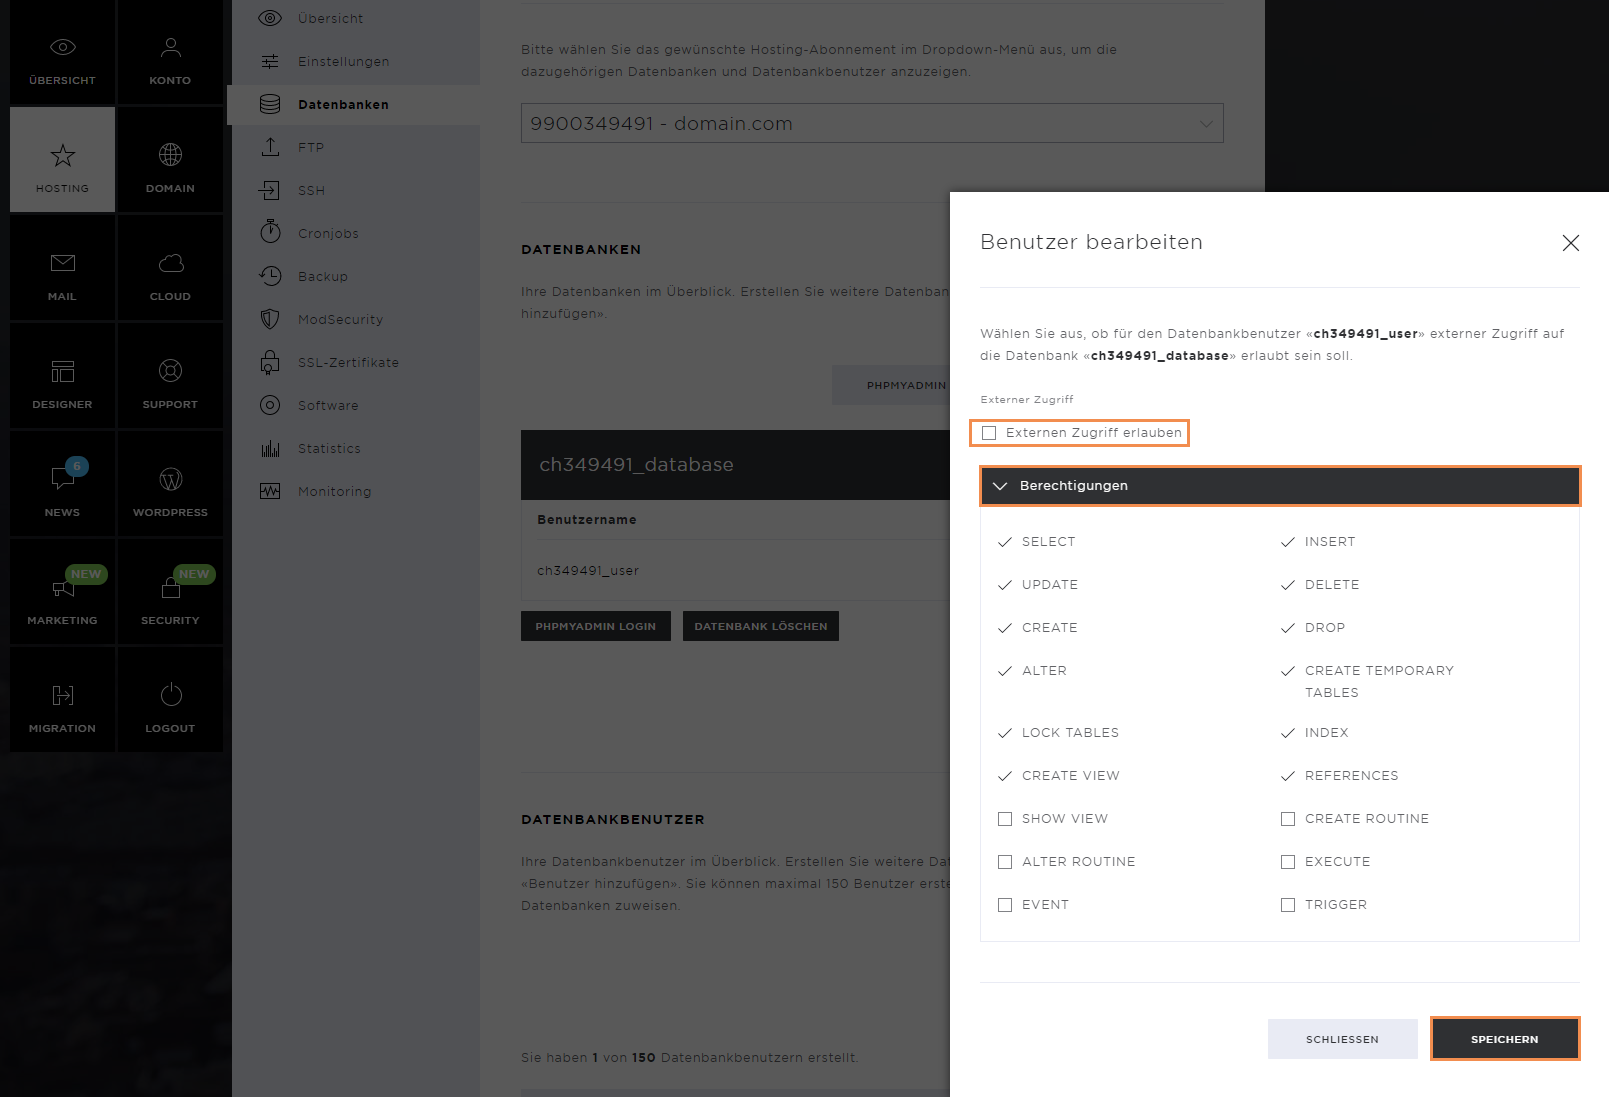
In the new pop-up window, you can set your user's permissions. Among other things, external database access can be activated here, which allows you to manage the database outside the server.
Select the necessary permissions and click on the Save button to set them.
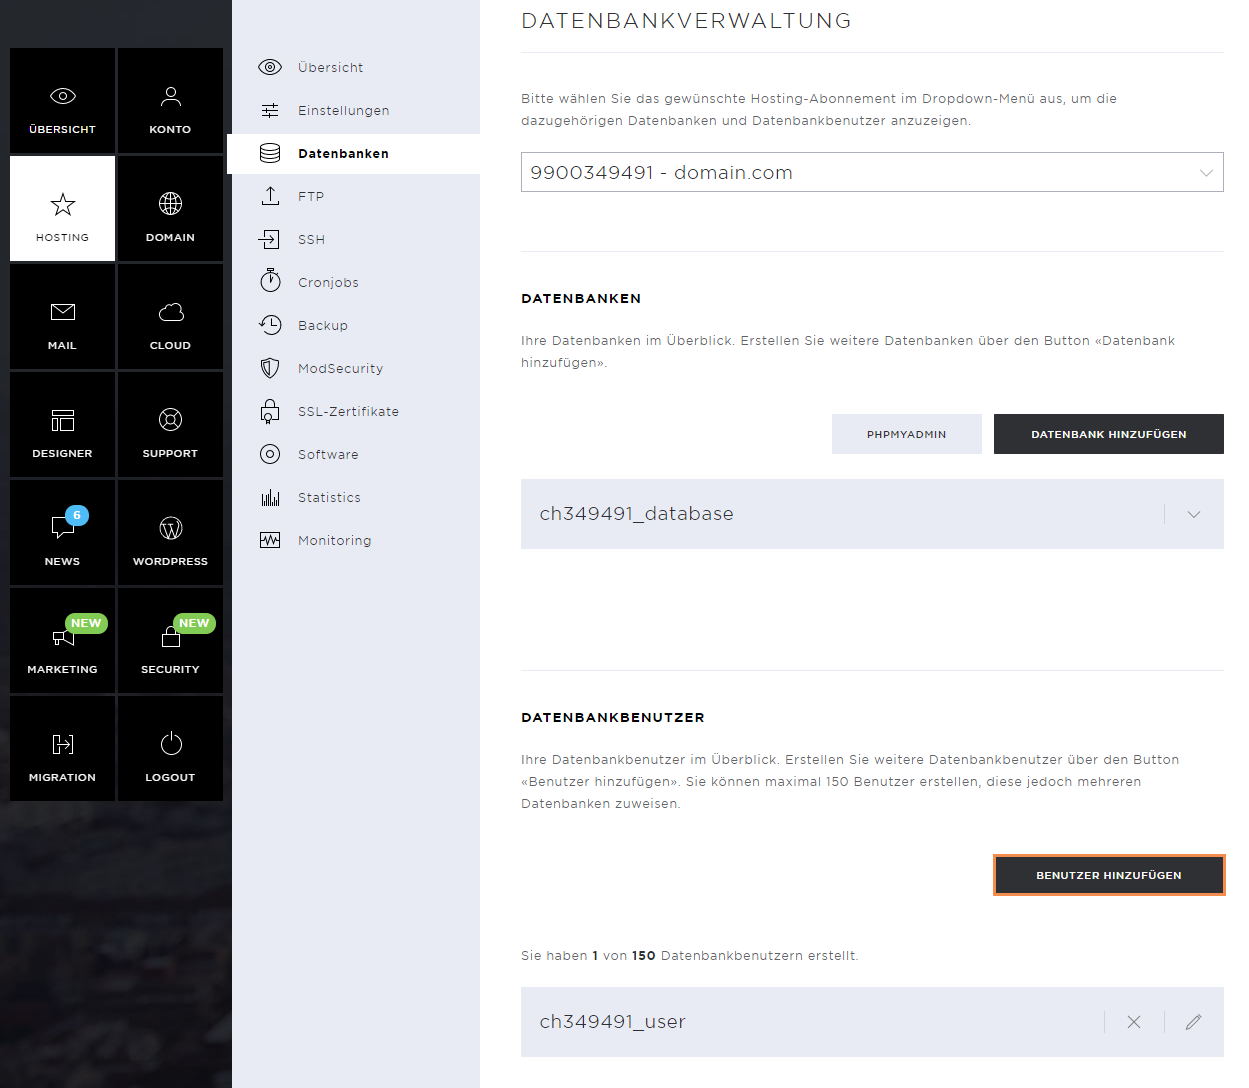
Add database user
If you want to add another user to an existing database, click on Add User.
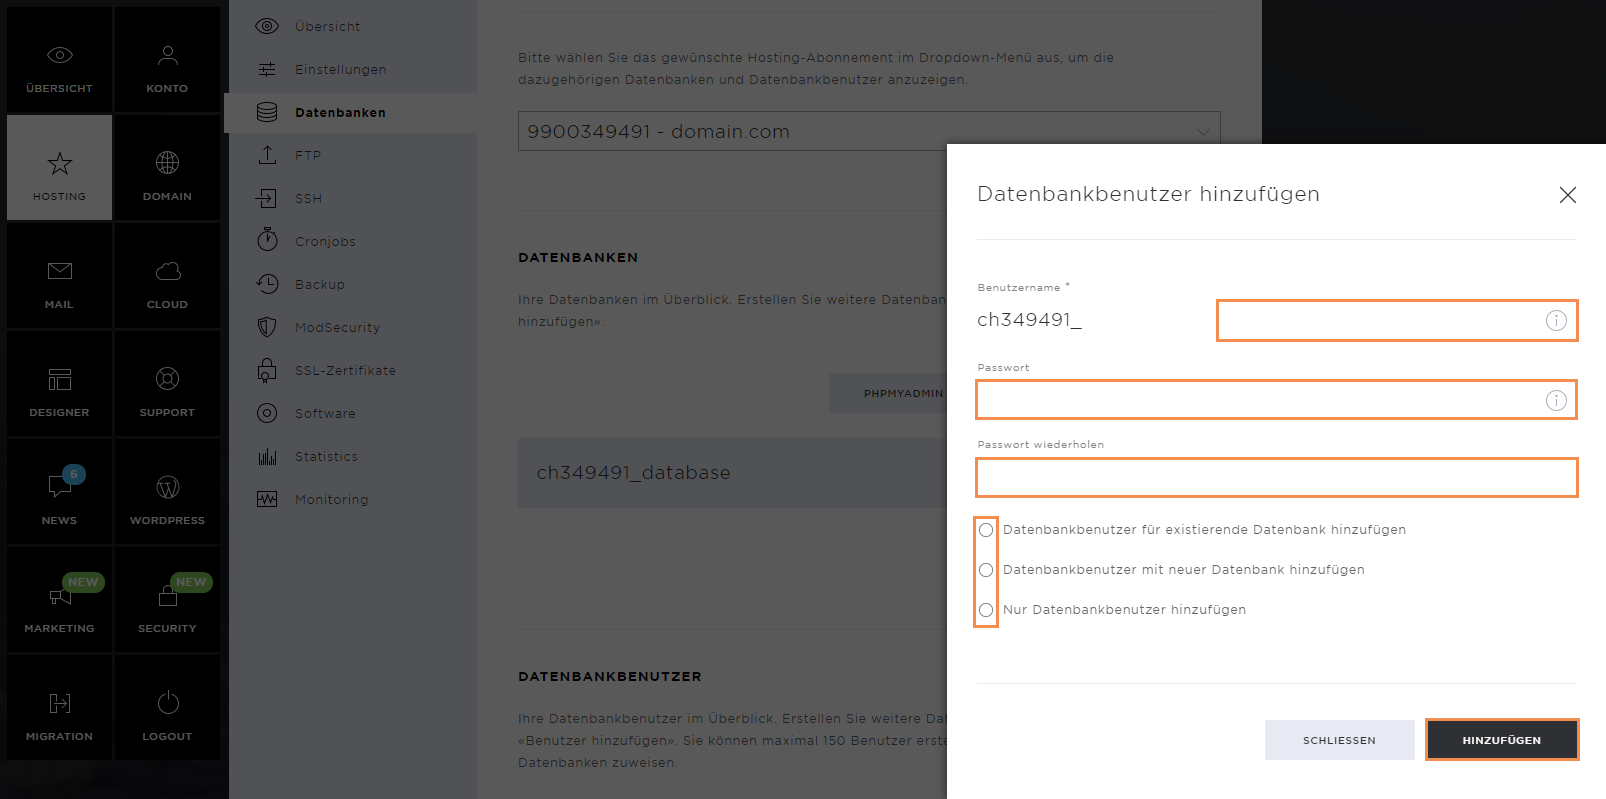
Now define the name and password of the new database user. You can already assign a database to the user during creation. However, the user can also be created without assigning a database.
To confirm the creation, click on Add.
phpMyAdmin
To be able to edit the database (embed data, import, and export data), the phpMyAdmin administration interface can be used.
To do this, click on the phpMyAdmin button.
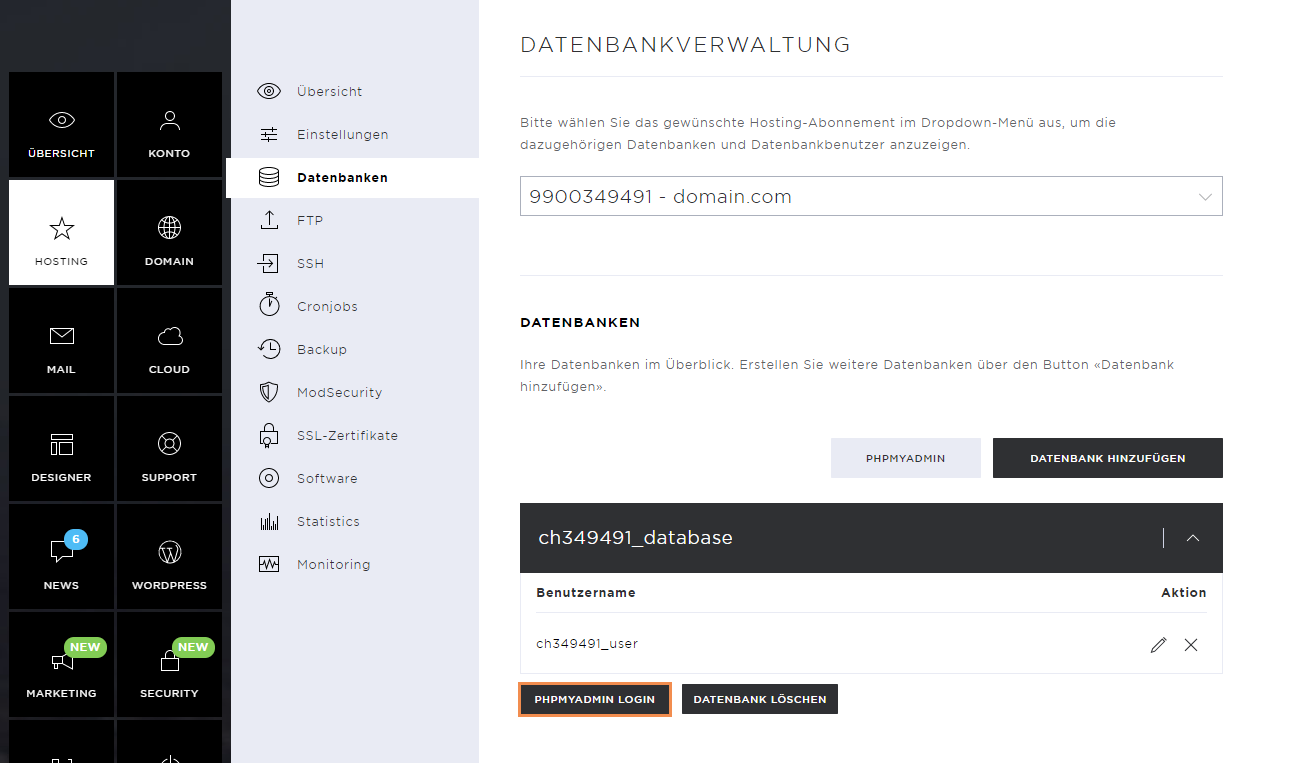
Enter the database user and their password and click on OK to log in.

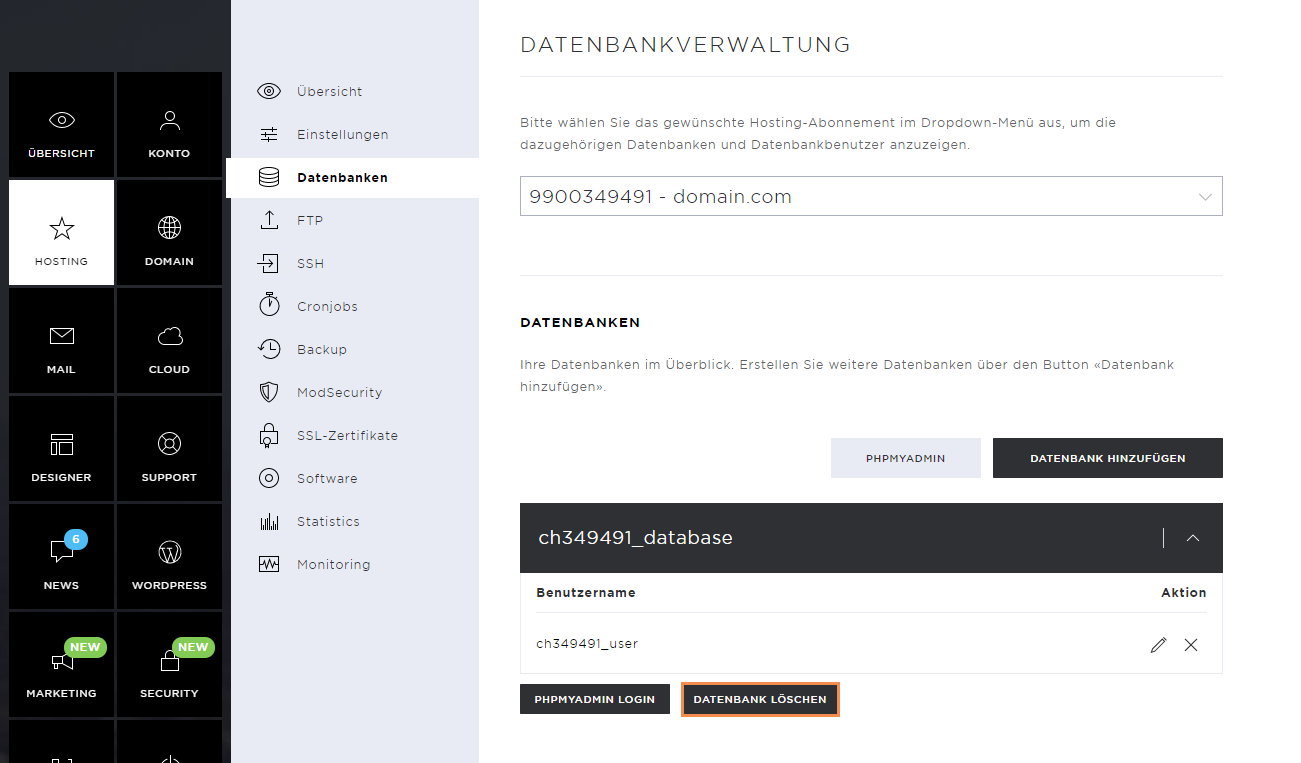
Remove database
If you no longer need a database, you can remove it by clicking on the database and then on Delete database.
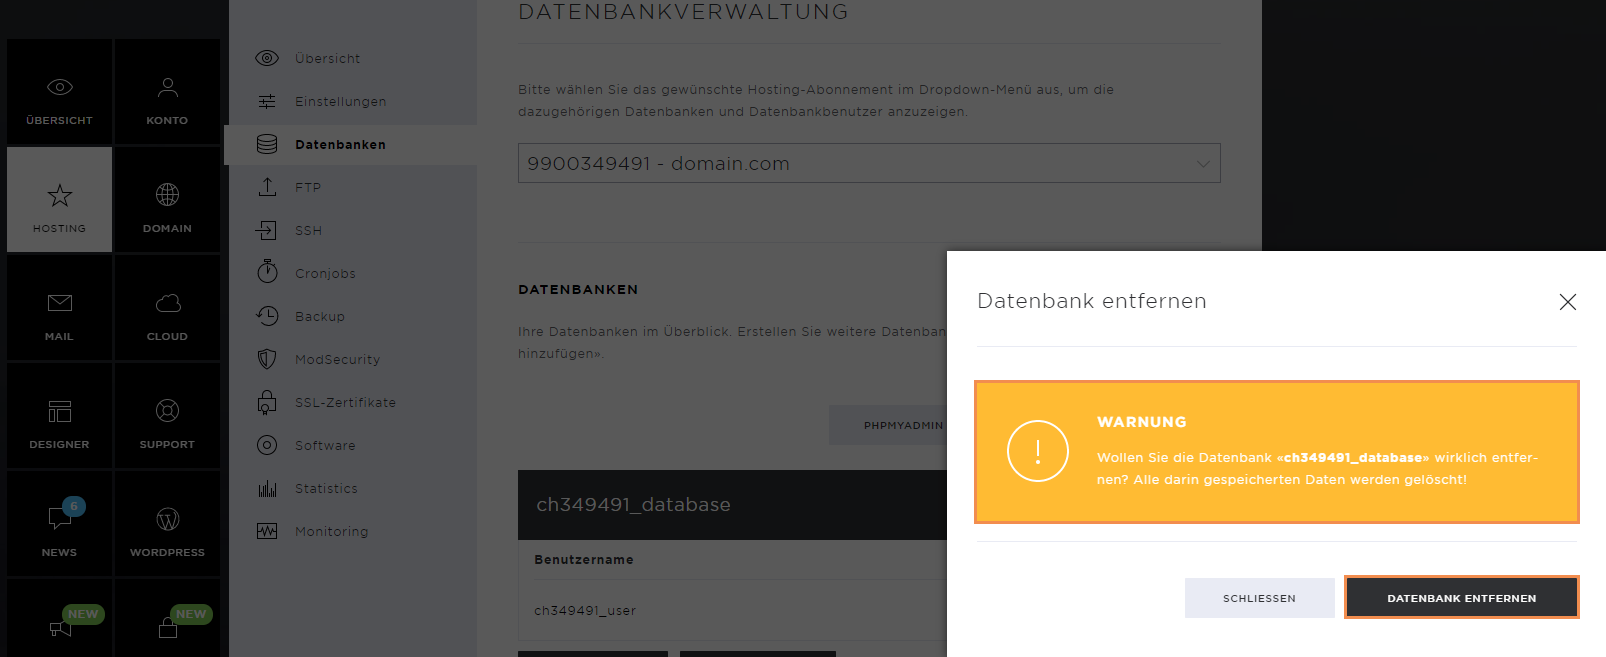
Confirm the deletion by clicking on Remove Database.
Be sure to read the warning message carefully before doing so. Note that all data in this database will be deleted.
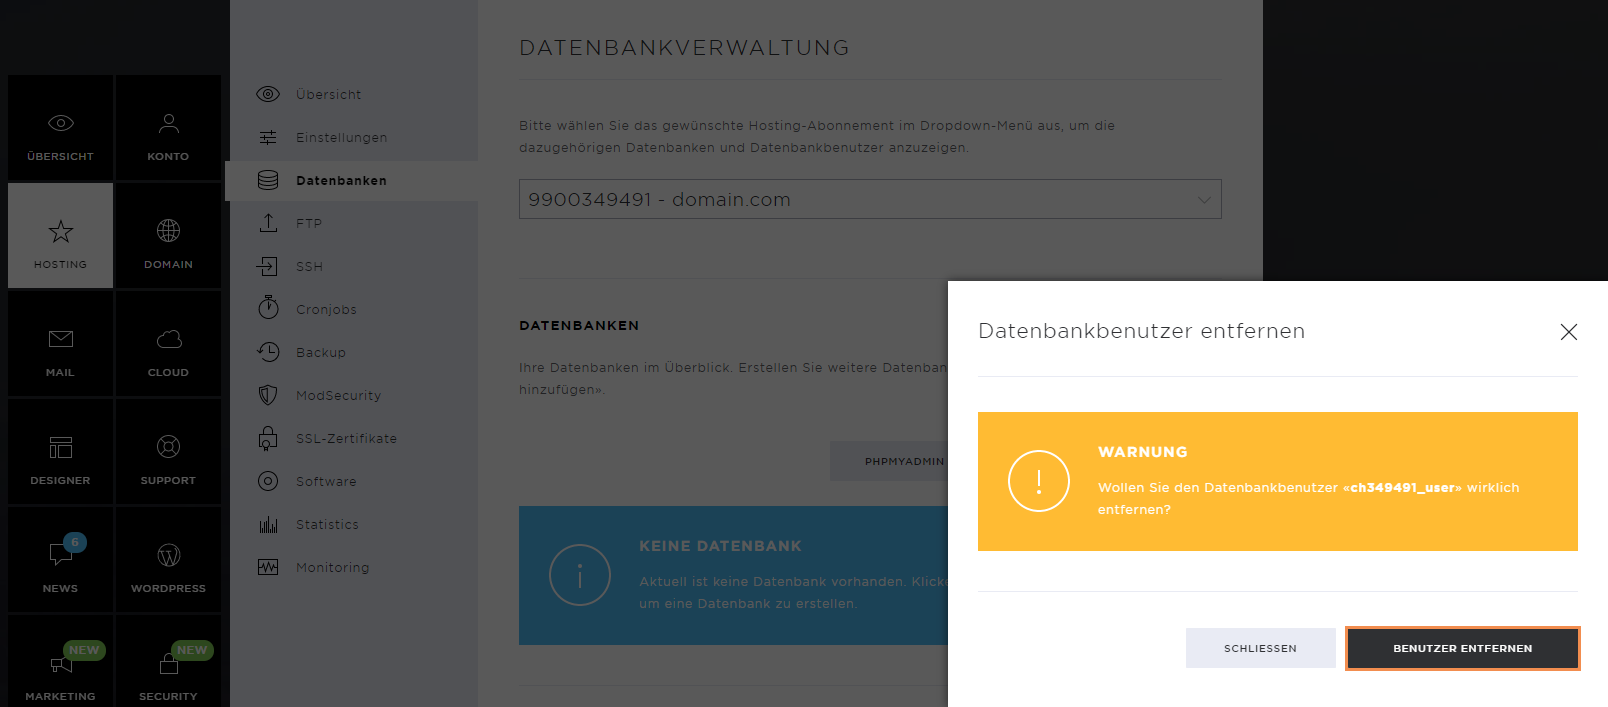
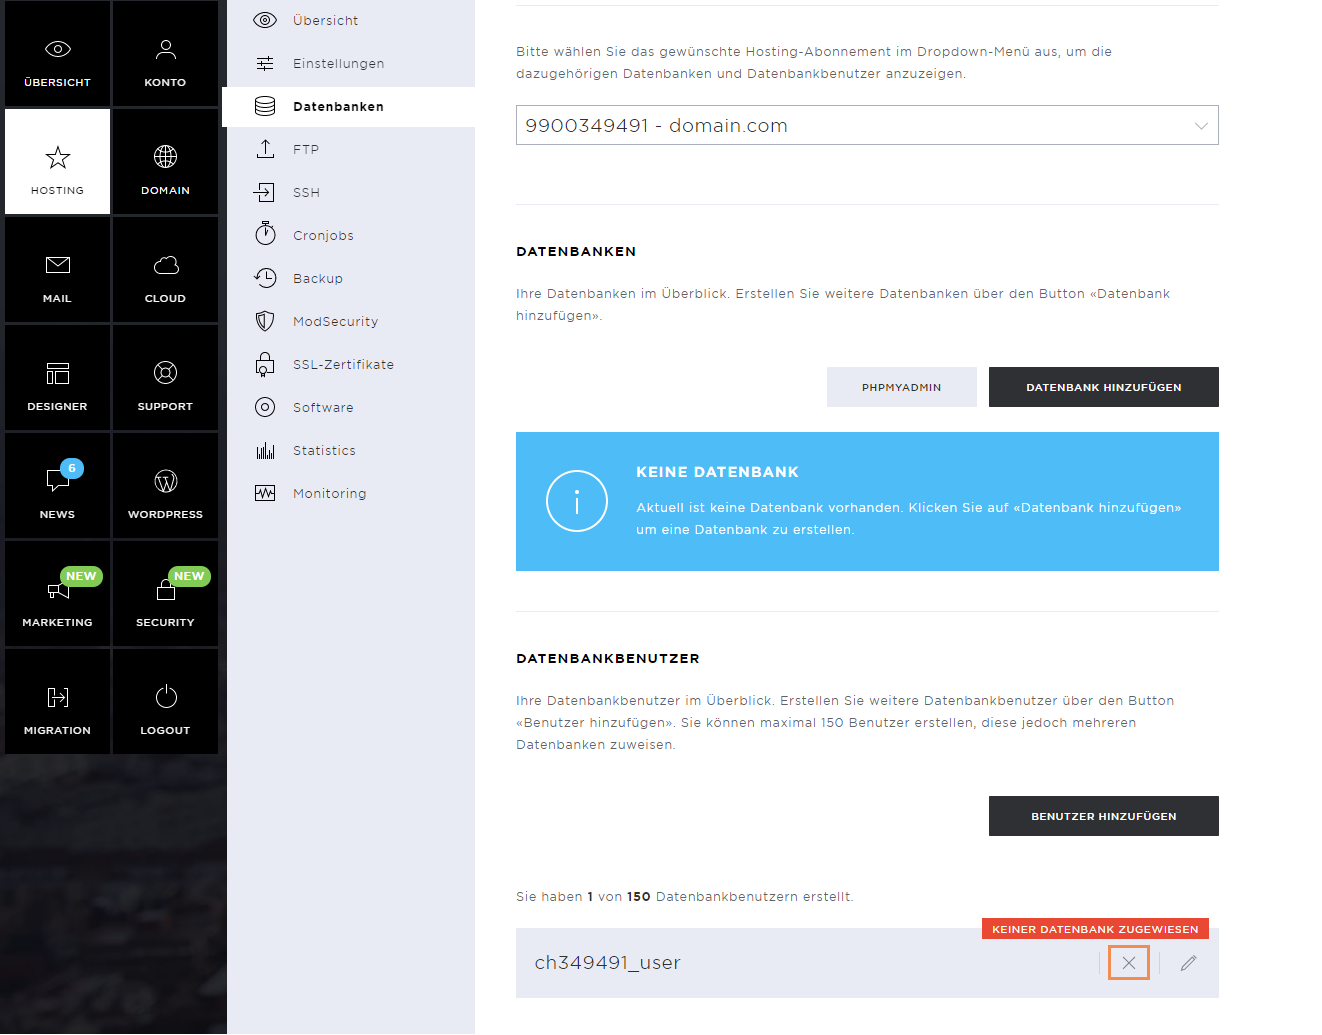
Remove database user
Once the database has been removed, the database user still exists. However, this user is no longer assigned to any database.
To delete the database user, open the user dropdown and click on the X icon in the table beside the username.
Confirm the deletion of the database user by clicking on Remove User.