WINDOWS – Outlook Express
Once you have set up the email address in My Panel, you can then add the account to Outlook Express. Follow these steps:
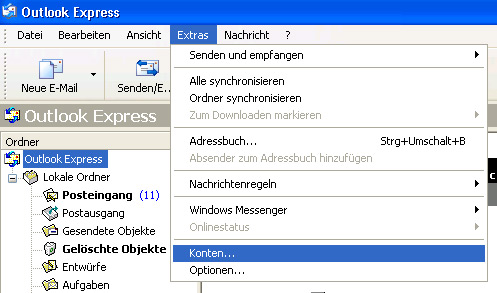
1. Open the software
Click «Tools» → «Accounts» to configure a new account.
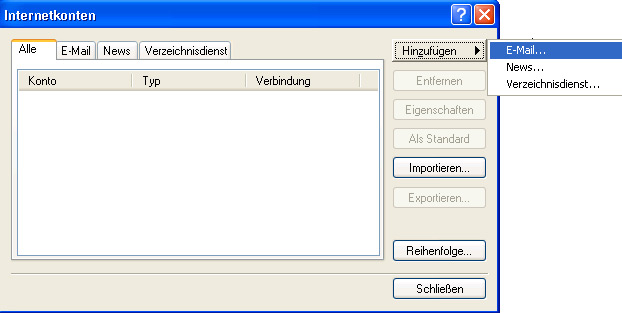
2. Add
Now click «Add» and then «Email».
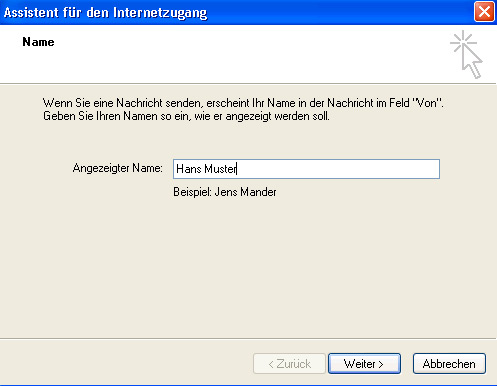
3. Name
Enter your login details here and then click «Next».
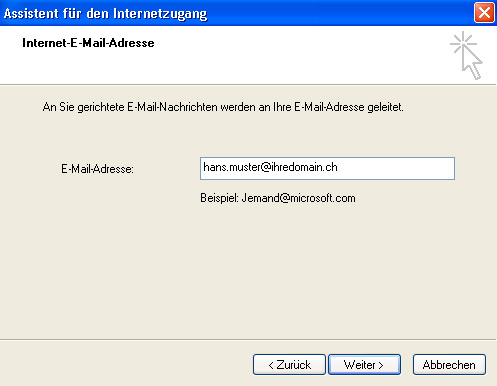
4. Email address
Enter the email address you previously set up in My Panel and then click «Next».
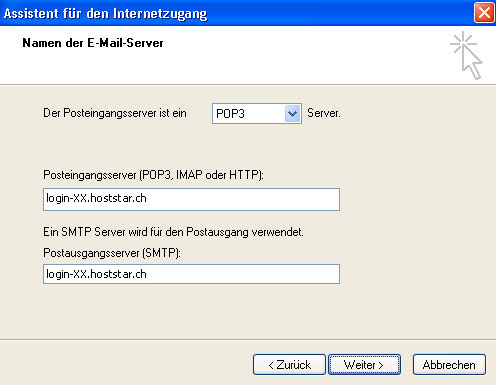
5. Email server
Select «POP3» or «IMAP». We recommend using IMAP to access your emails because the emails remain saved on the server. This allows you to read emails from different computers and mobile devices as well. With POP3, the emails are deleted from the server after they are downloaded to your computer.
Incoming server: Enter «lx#.hoststar.hosting». (The first letter of the server name is a small «L» like Linux. Replace «#» with the «effective server number of your hosting».) This ensures that the SSL certificate from «hoststar.ch» is queried and no certificate warning is displayed.
Outgoing server: Enter the same details as for the incoming mail server.
Then click «Next».
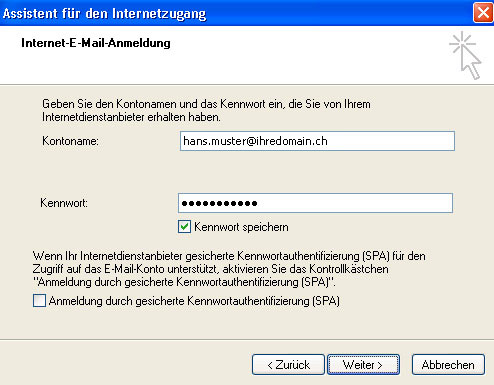
6. Login details
Account name: Enter the email address you want to configure here.
Password: The password you selected for the email address in My Panel. If you do not know the password, refer to the instructions for changing your email password.
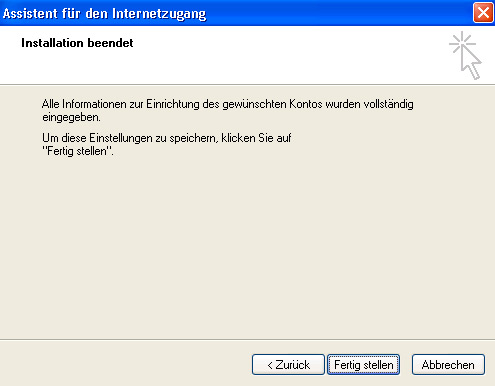
7. Finish
Click «Next» and then «Finish» to exit the wizard.
8. Properties
The account you just set up now appears in the list of Internet accounts. Select this account and then click «Properties».

9. Servers
Click the «Servers» tab.

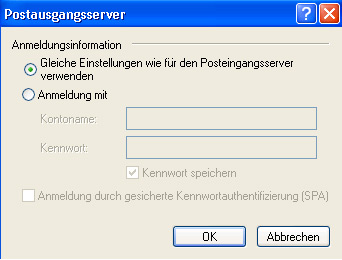
10. Outgoing server
Now enable «My server requires authentication» and click «Settings...».
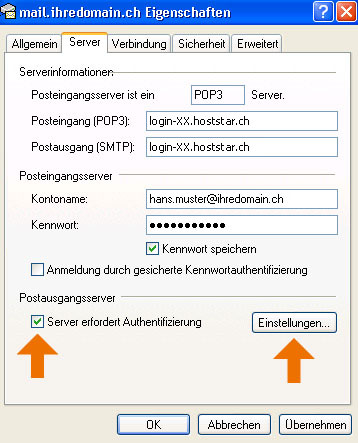
11. Check
Make sure that you have enabled «Use same settings as my incoming mail server» option.
12. Finish
Click «OK» to apply the settings and close all open windows. You have now completed the email account setup for Outlook Express.