Redirects
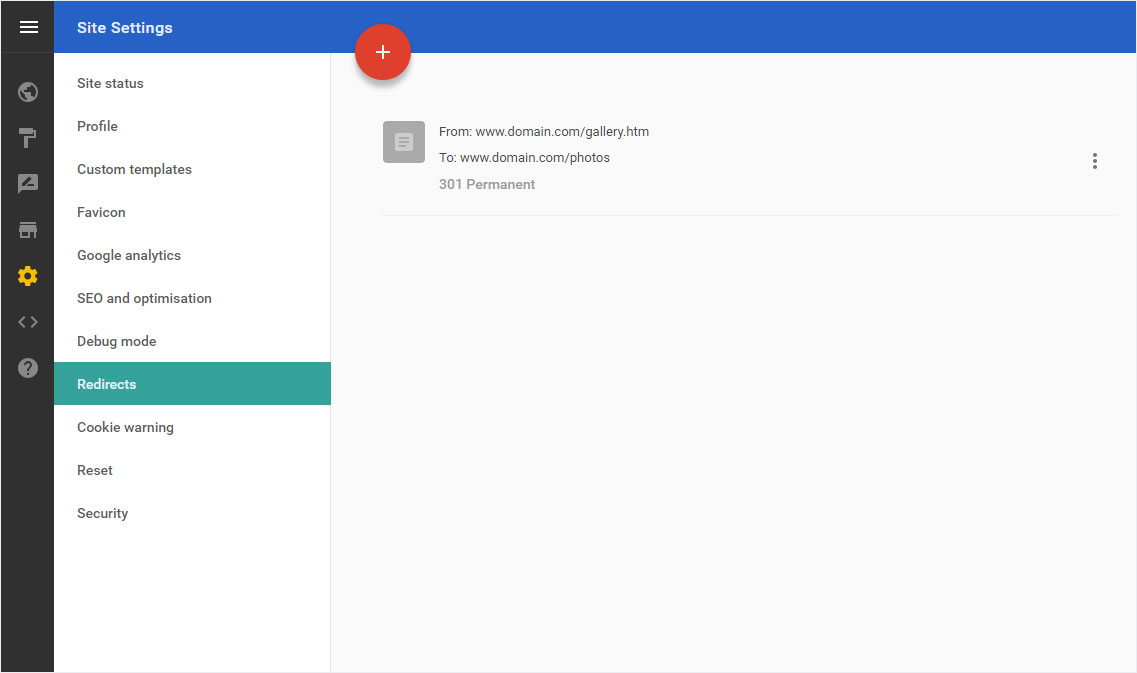
If you have an «old» website and a page such as a «Gallery» is no longer part of your Hoststar Designer website, but you would like this link to continue functioning, you can set up a «Redirect».
After «logging into Designer», follow these steps:
1. Navigate
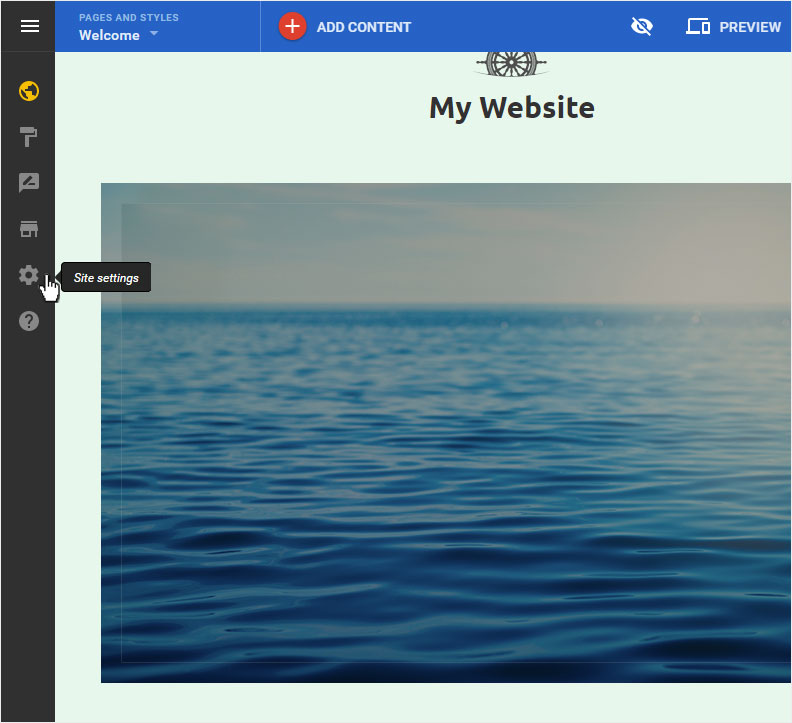
You begin on the home page of Designer's editor and are thus in the «Site editor» view. Click left on the menu item «Site settings».
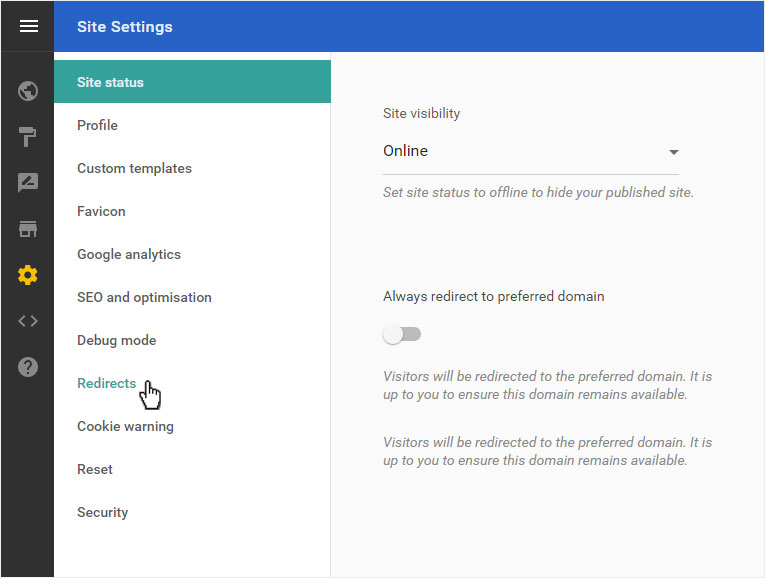
You can now see the «Site status» page of the «Site Settings» area. Click on «Redirects» in the menu on the left.
2. Redirect overview
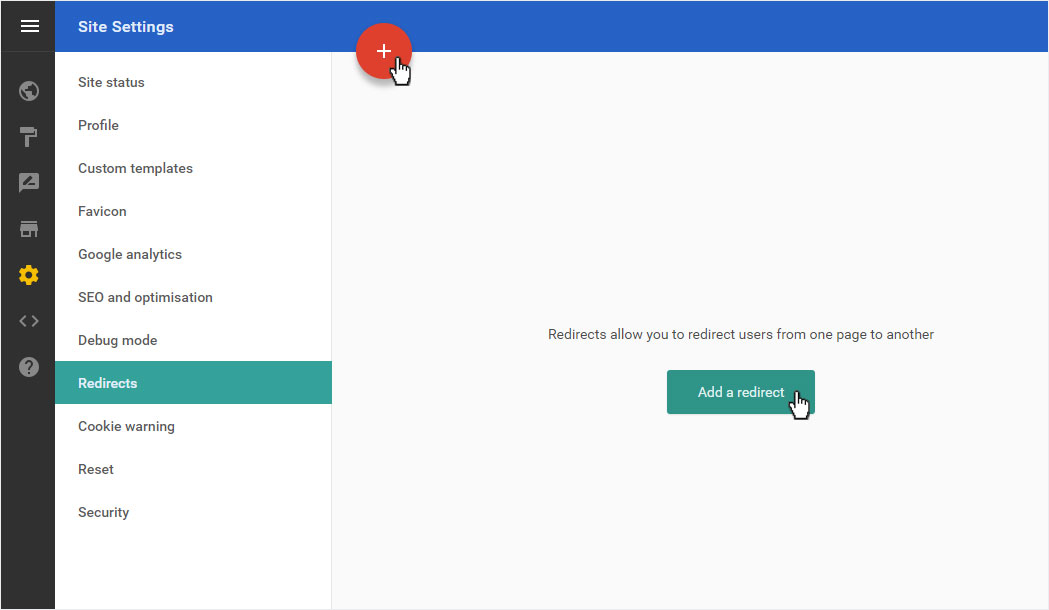
If you have already set up any redirects, they will be displayed here. To create a new forwarding, click on «Add a redirect» or the «plus symbol in the red circle».
3. Add
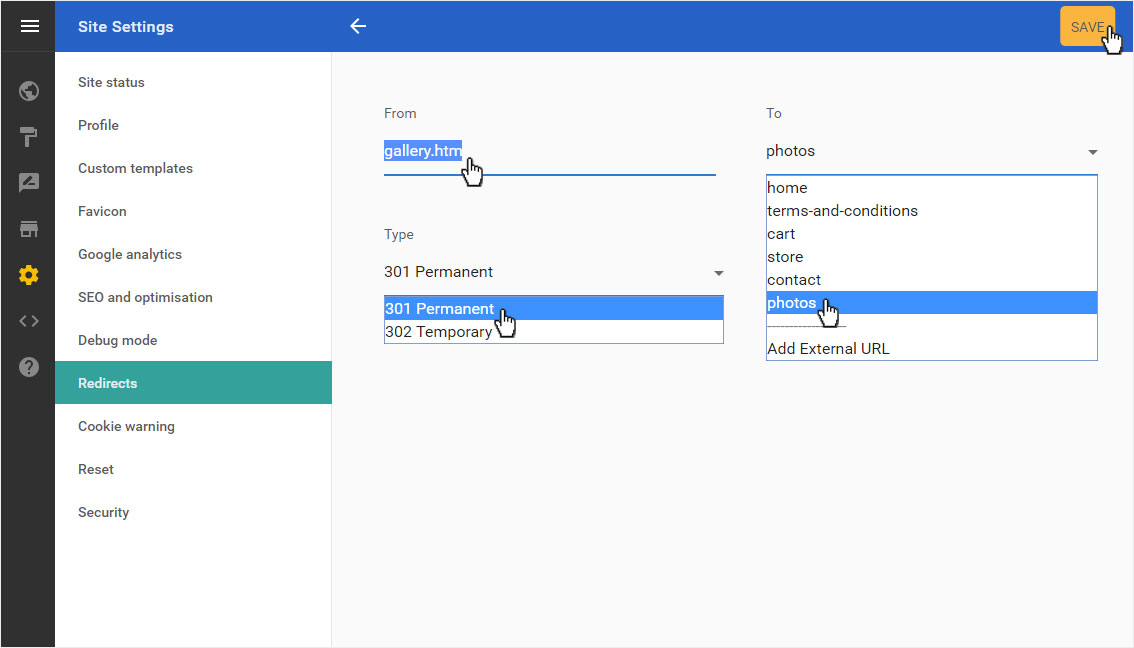
Enter the link address (without domain name) under «From», e.g. «gallery.htm» (www.domain.com/gallery.htm).
Select «To» from the drop-down menu, which displays every page you have created in Designer. Select the target page you want from this list (in this example, photos).
Under «Type», you can set the redirect to «301 Permanent» (definitely) or «302 Temporary» (only for a certain period of time).
To save your redirect, click «SAVE».
4. Page view
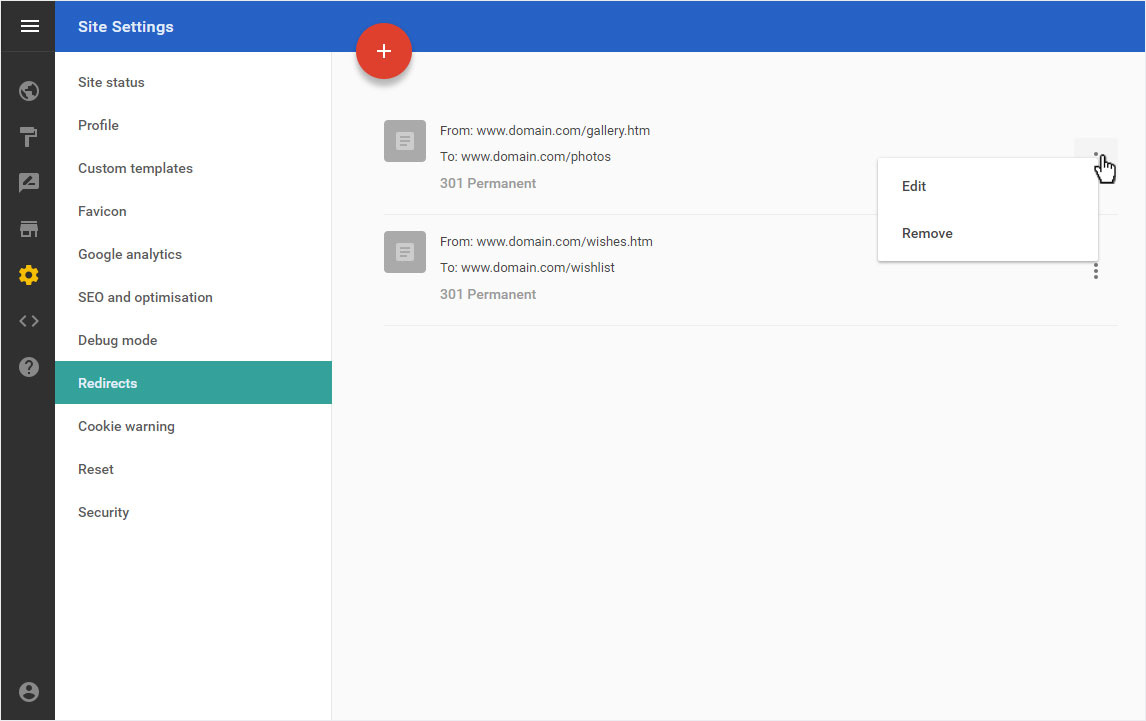
After saving, the forwarding overview with the newly created forwarding is displayed.
5. Edit
To «Edit» an existing redirect, first click on the «Options» icon and then on «Edit».
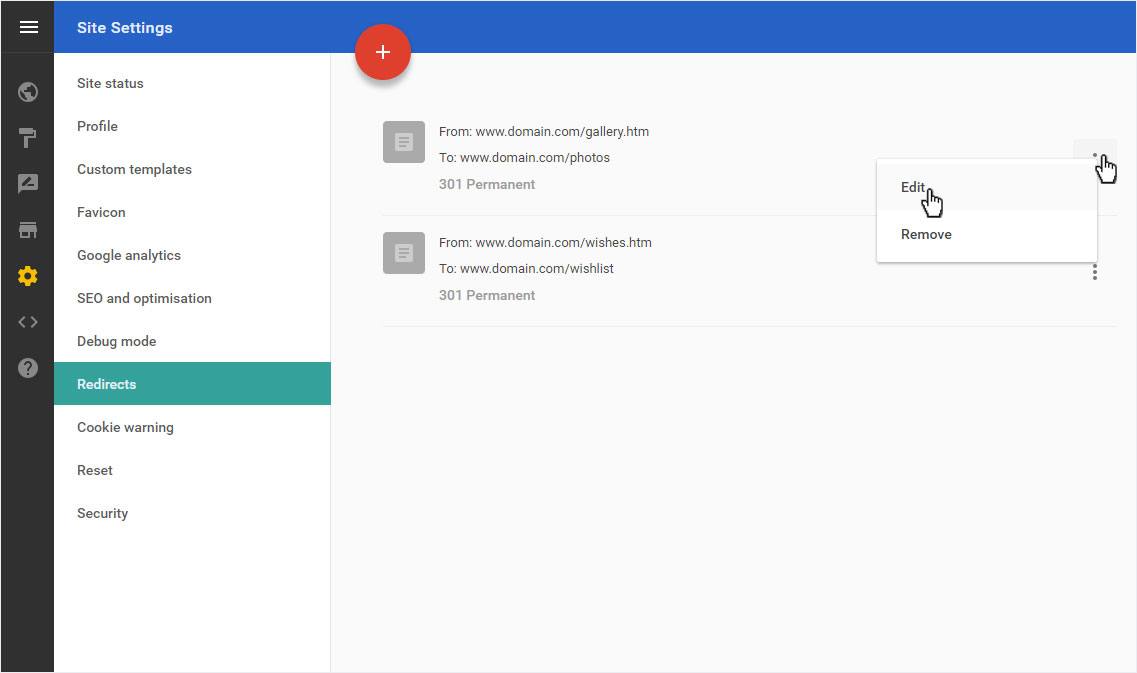
You can now make the desired adjustments and save your changes by clicking «SAVE».

6. Delete
To «Delete» an existing redirect, first click on the «Options» icon and then on «Remove».
A warning message opens immediately. If you are sure that you want to delete this redirect, click «OK».
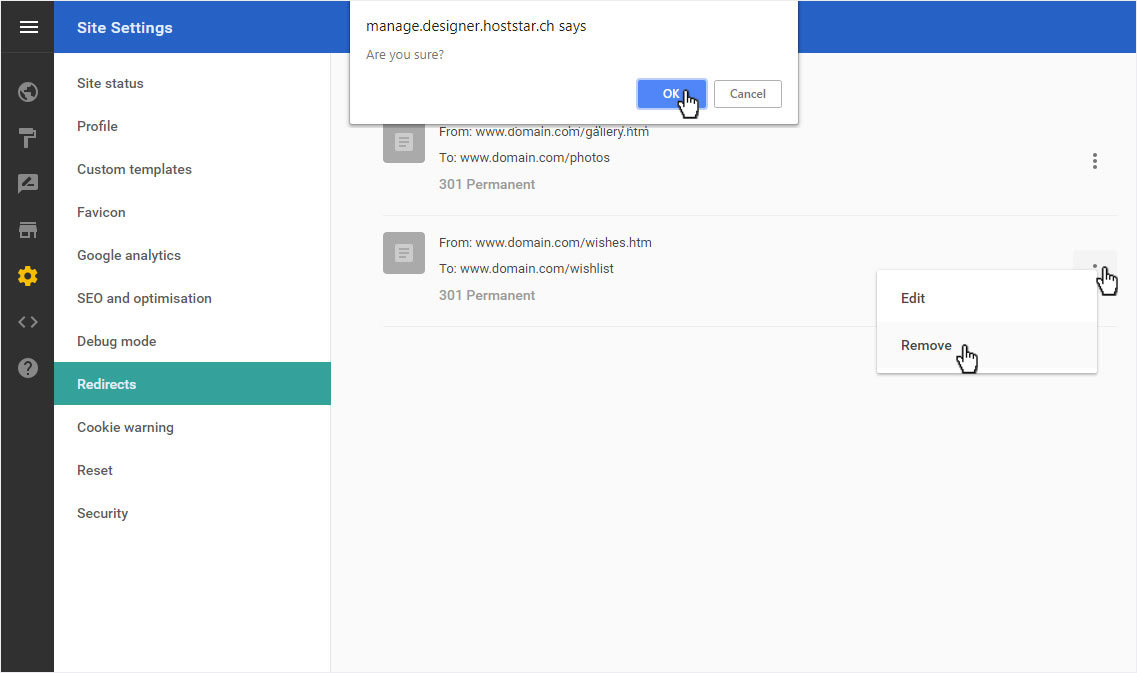
The redirect is immediately and permanently deleted.