Configuring vServer
You will see several settings in the vServer Panel, which is the dashboard for your vServer.
Here you see an overview of the settings that can be configured for your vServer. Follow these steps:
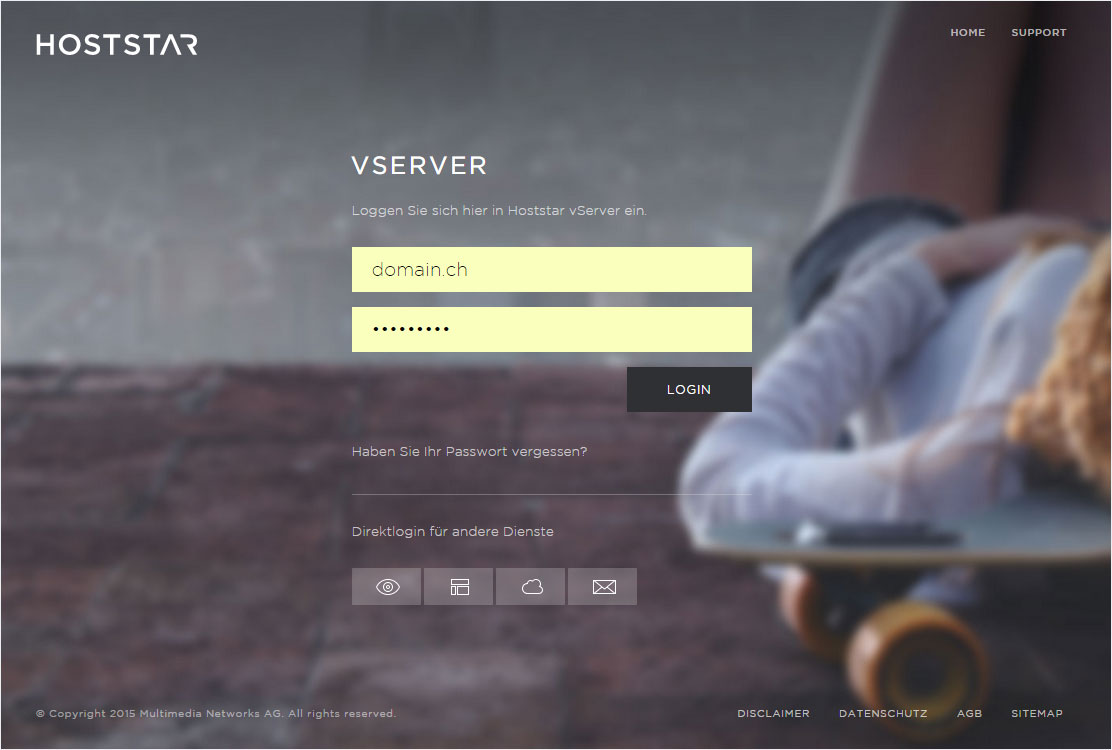
1. Log in
You have the following options for logging in:
Direct login
Log into vServer Panel directly.
To log in, go to https://vserver.hoststar.ch. Enter your login details (domain and password, see email from Hoststar) and then click «Login».
Login via My Panel – vServer subscription
If you are managing a single vServer subscription in My Panel, you can select the «vServer» menu item and then click «Settings». You will then be logged into vServer Panel automatically.
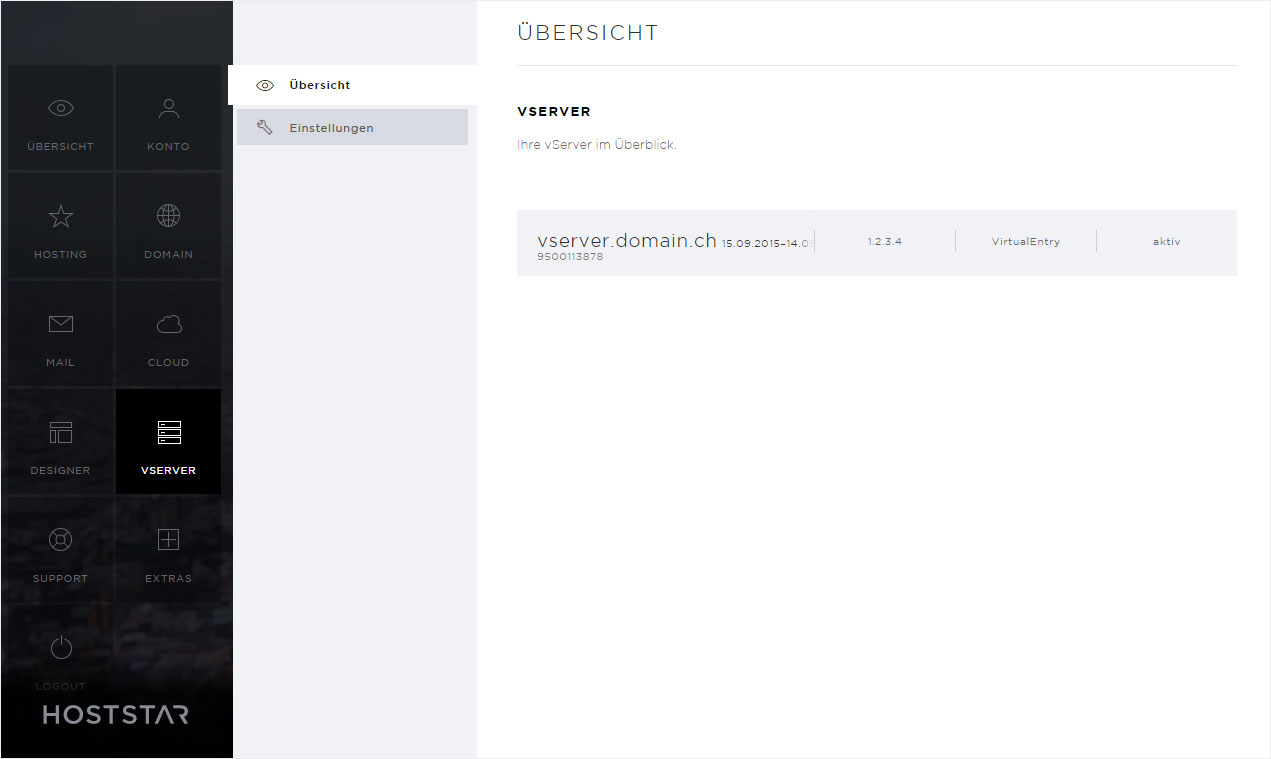
Login via My Panel – Multiple vServer subscriptions
If you are managing multiple vServer subscriptions in My Panel, you can select the «vServer» menu item and then click «Settings». You will see a list of your vServer subscriptions. Now click the «Login» button next to the desired vServer. You will then be taken directly to the vServer Panel.

2. Configure
You have the following configuration options:
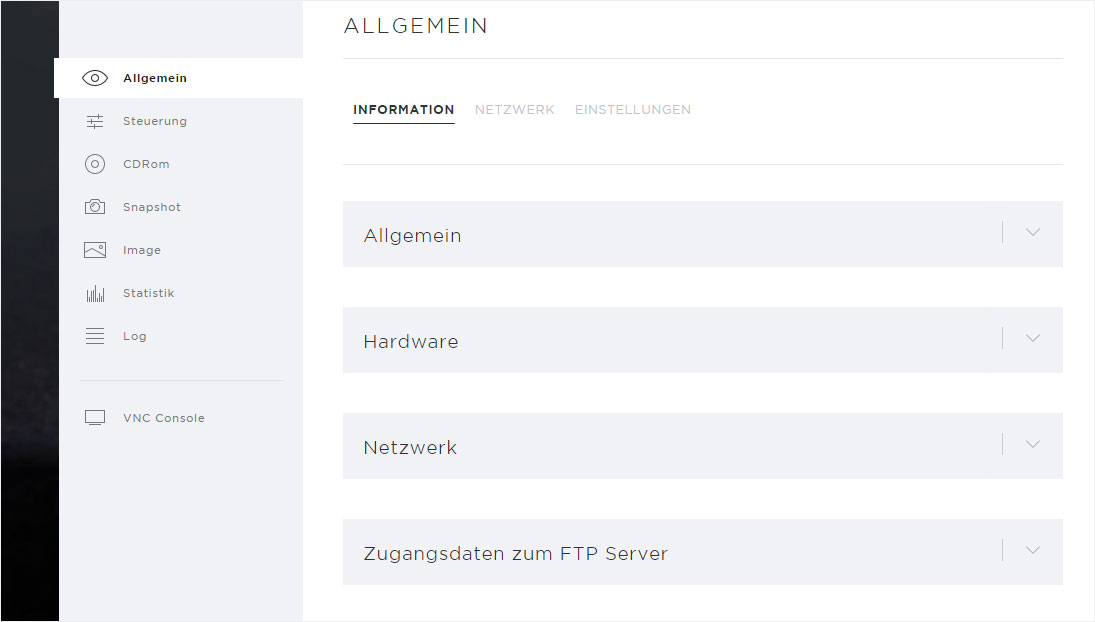
General
Here you can configure the following settings:
- Information: The name and status information, hardware and network information (MAC and IP address(es)) as well as the FTP login details for your vServer.
- Network: Here you can configure the settings for your vServer's IP addresses. You will see the available IPv4 addresses and also have the option to enable IPv6.
- Settings: Here you can set the autostart options (automatic restart of the vServer when the host system is restarted), the boot priority of the drives belonging to your vServer and the VNC keyboard layout.
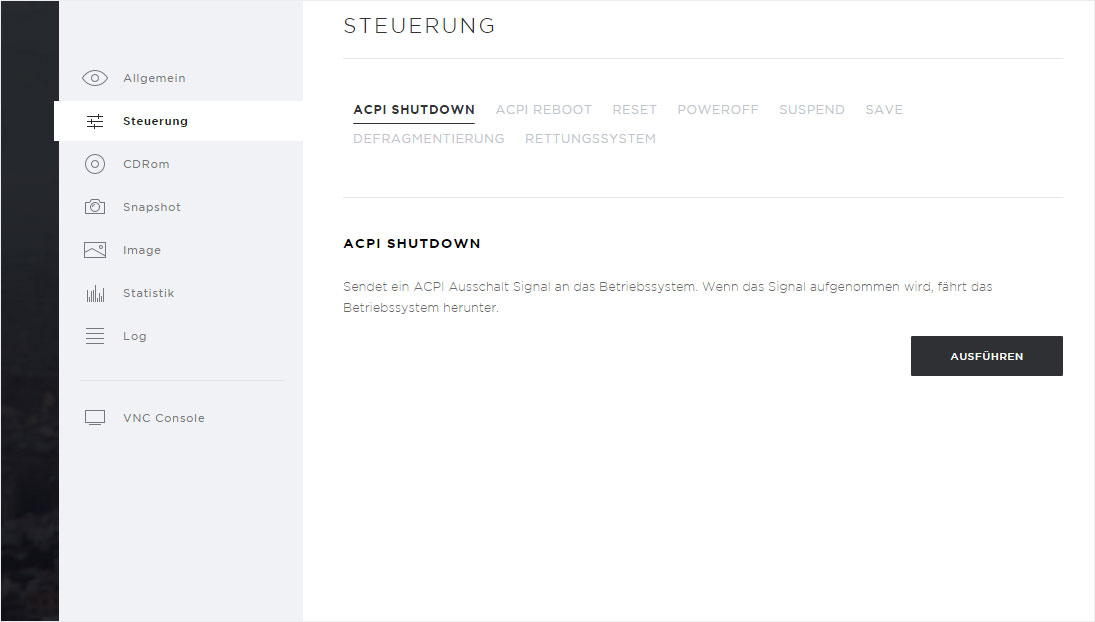
Controller
Here you can configure the following settings:
- ACPI shutdown: Here you have the option of sending an ACPI shutdown signal to your vServer. If your vServer is able to process the signal, the operating system shuts down.
- ACPI reboot: Here you have the option of sending an ACPI reboot signal to your vServer. If your vServer is able to process the signal, the operating system will restart.
- Reset: If you choose «Reset», the host system will restart your vServer. Any unsaved data may be lost in this case.
- Poweroff: A poweroff causes the host system to shut down your vServer. Any unsaved data may be lost in this case.
- Suspend: Your vServer instance is suspended. Because the RAM data is saved temporarily to the host system, you may lose data if there are problems with the host system.
- Save: Your vServer instance is saved. The RAM contents are saved to the hard disk of the host system. However, this process takes longer than a «Suspend».
- Defragmentation: This feature defragments the virtual server's hard disk. This may improve the performance of read and write operations. This feature shuts down the vServer, defragments its hard disk and then restarts it.
- Rescue system: If you are no longer able to access your vServer via SSH and a reset has not resolved the problem, you have the option of booting from a rescue system. Please note that it will only be booted if your «Network» drive is at in the first position under «General» → «Settings».
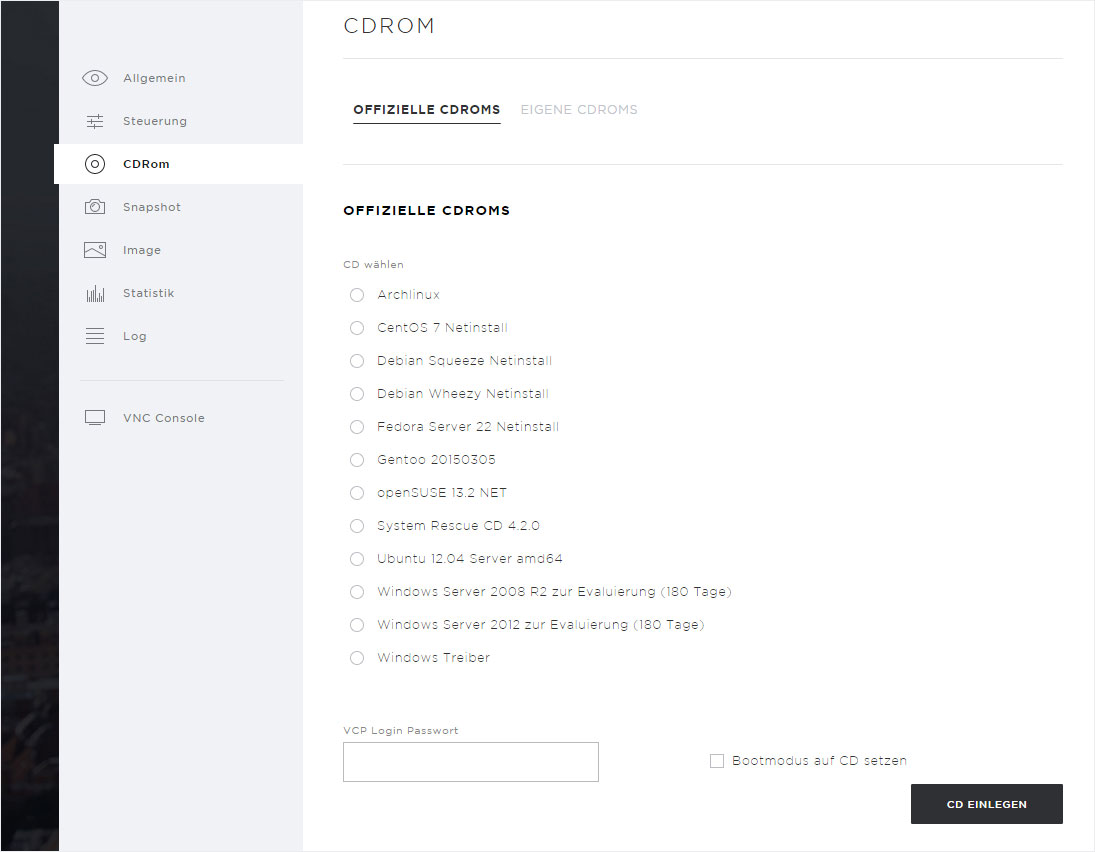
CD-ROM
Under «CD-ROM», you have the option of «inserting» an image of one of the available operating systems or an image of your vServer:
- Official CD-ROMs: Select one of the operating systems from the list to «insert» («mount») an image to your vServer. This image will be booted on restart if «CD-ROM» is in the first position of the boot priority («General» → «Settings»).
- Customer CD-ROMs: Here you will find the information needed to upload your own operating system image (.iso file) via FTP. Important: it will be deleted automatically after 24 hours. If you have uploaded an image to the «/cdrom» directory, you can select it from the dashboard and «insert» it if required.
Important: To change the currently selected image, you must enter your vServer login details (not your SSH login details) to confirm that you want to proceed with this action. You also have the option of changing the boot priority directly so that «CD-ROM» is in the top position. In most cases, you must stop and restart the vServer – a reboot is insufficient.
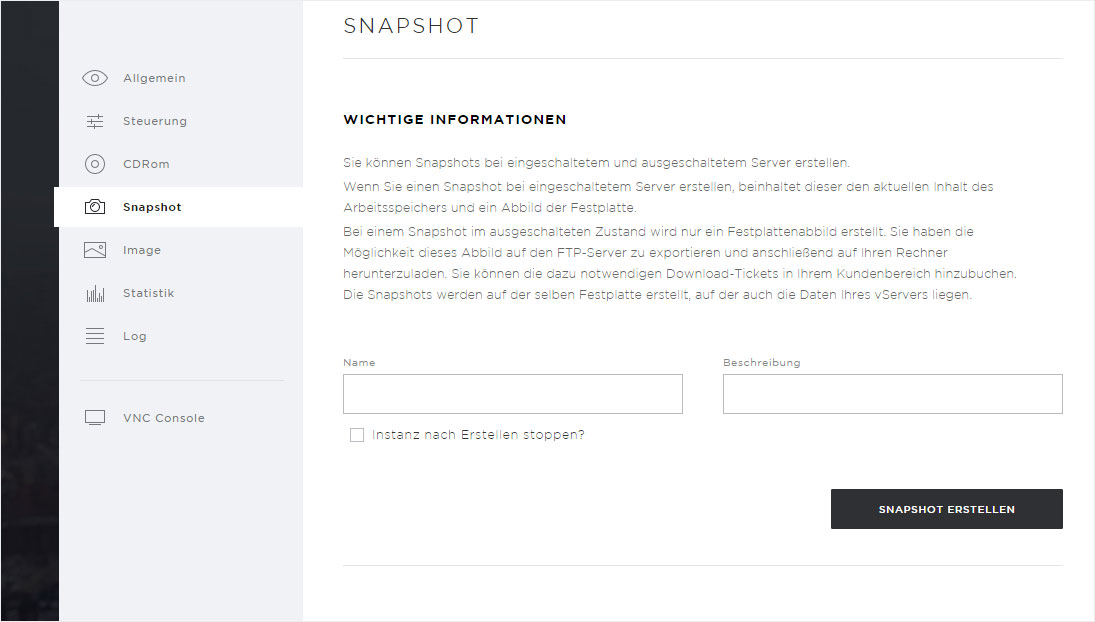
Snapshot
Here you have the option to create a current image («snapshot») of your vServer. This can be used for purposes such as backing up your vServer.
You can create snapshots both when your vServer is active and inactive. If you would like to create a snapshot of the server in its active state, it will contain the current RAM contents and an image of your vServer’s hard disk.
For a snapshot of the server in its deactivated state, only one hard disk image of your vServer is created. When you create a new «snapshot», you can give it a name and more detailed description. You also have the option to shut down your vServer after creating a snapshot.
Below you see the FTP login details that you can then use to download the snapshot.
The maximum number of snapshots that can be created depends on your «vServer subscription».
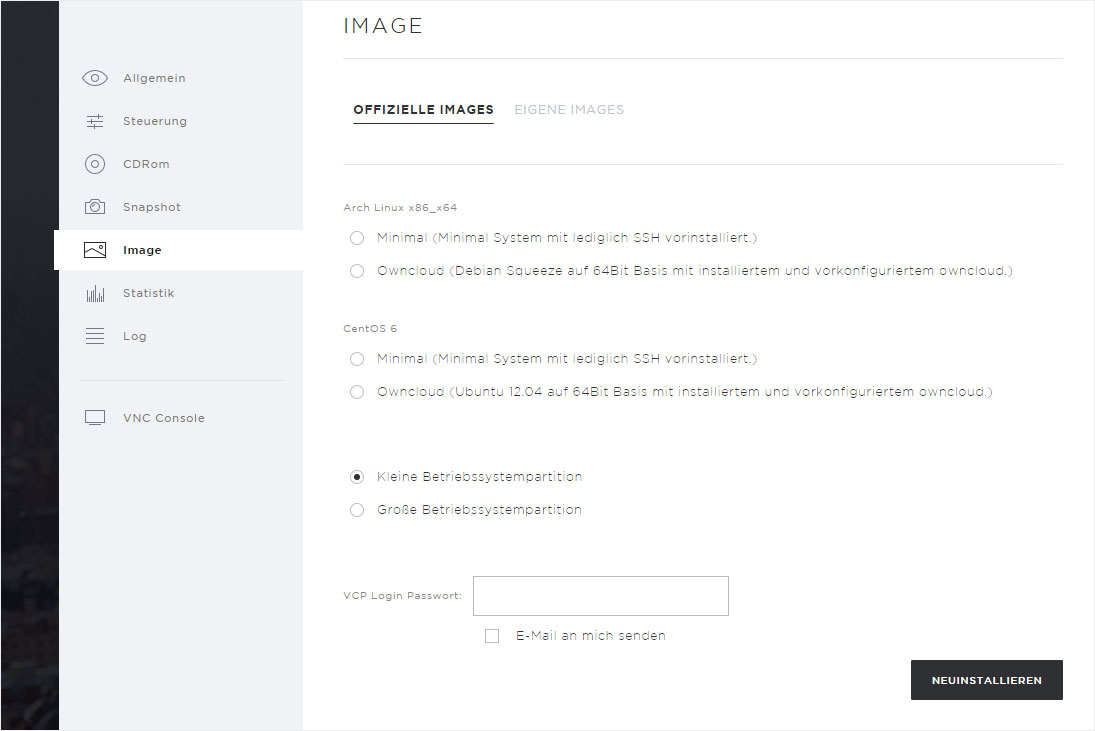
Image
Under «Image», you can «insert» an image of an already configured operating system or an image of your vServer:
- Official images: Select one of the preconfigured operating systems from the list to «mount» an image to your vServer. This image will be booted on restart if «CD-ROM» is in the first position of the boot priority («General» → «Settings»).
- Customer images: Here you will find the information needed to upload a hard disk image (.qcow2 or. raw file) via FTP. Important: it will be deleted automatically after 24 hours. If you have uploaded an image to the «/image» directory, you can select it from the dashboard and «insert» it if required.
Important: To change the currently selected image, you must enter your vServer login details (not your SSH login details) to confirm that you want to proceed with this action. You also have the option of changing the boot priority directly so that «CD-ROM» is in the top position. In most cases, you must stop and restart the vServer – a reboot is insufficient.
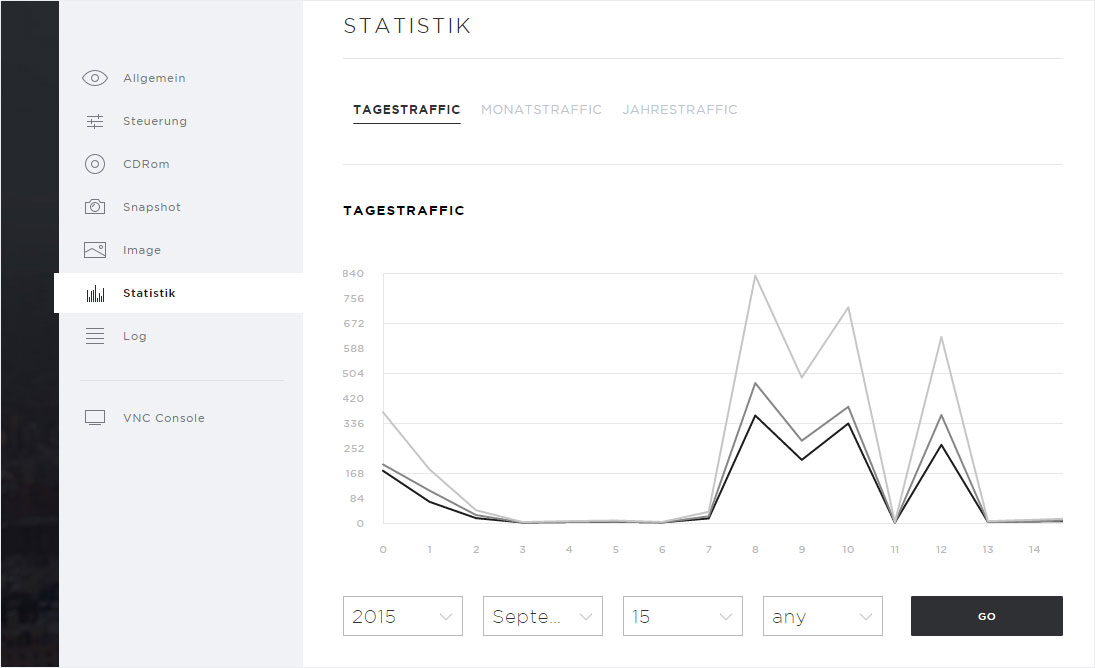
Statistics
Under «Statistics», you will see the following statistical graphs and tables for each IP address belonging to your vServer:
- Daily traffic: statistics broken down by hour.
- Monthly traffic: statistics broken down by day.
- Annual traffic statistics broken down by month.
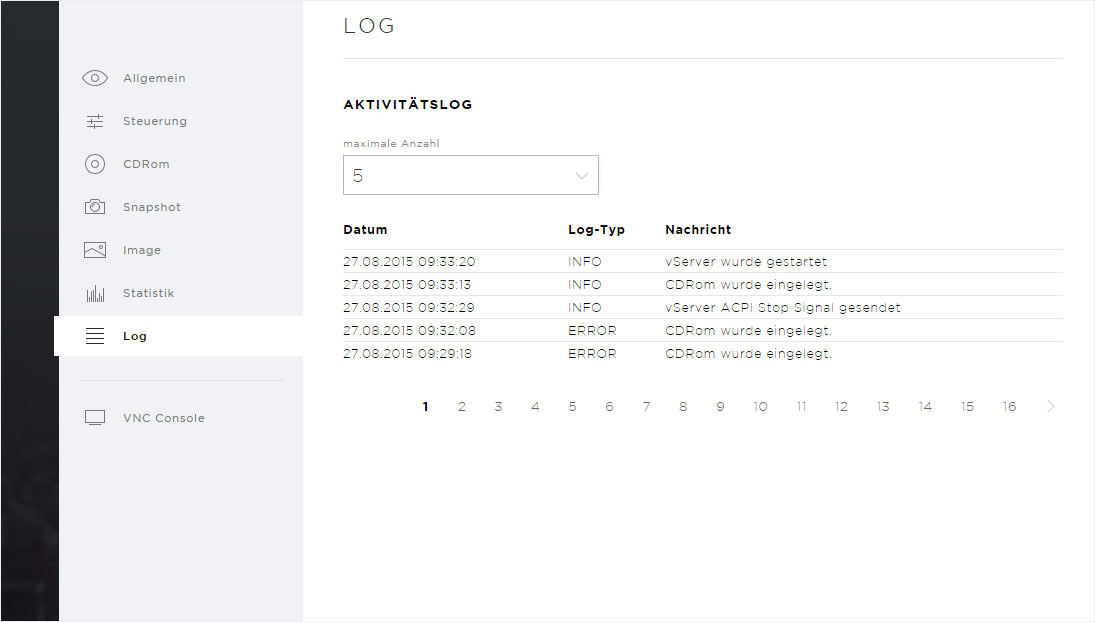
Log
Under «Log», you will see a list of events pertaining to your vServer.
The log records two types of events: 1) notification events («INFO») such as inserted/ejected images, restarts or changes to the boot priority, 2) errors («ERROR») such as when the vServer unexpectedly stops.
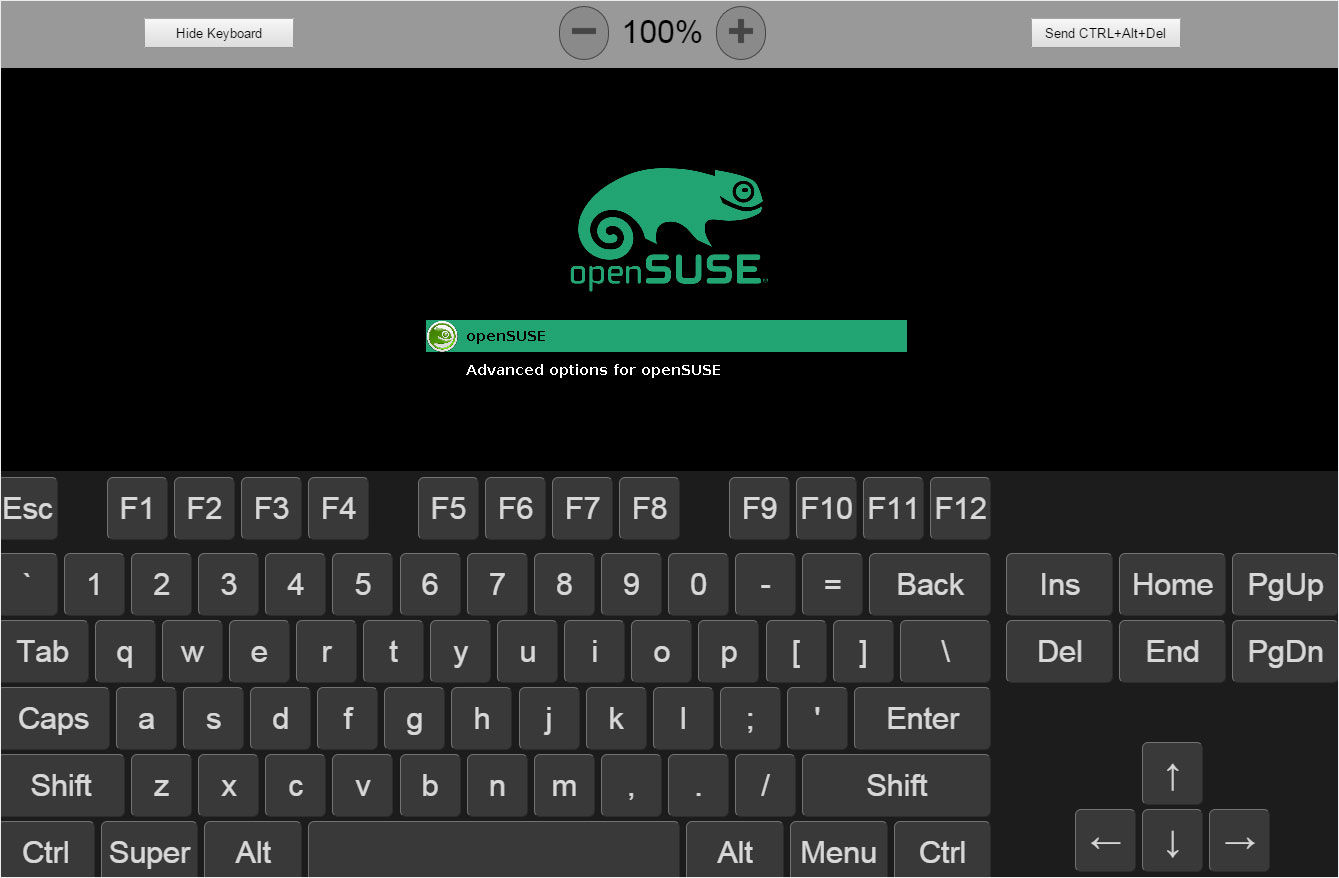
VNC Console
The «VNC Console» offers you an integrated, remote web-based software that lets you access the graphical interface or command line of your vServer.