WINDOWS – Outlook 2016
Once you have set up the email address in My Panel, you can then add the account to Outlook 2016. Follow these steps:
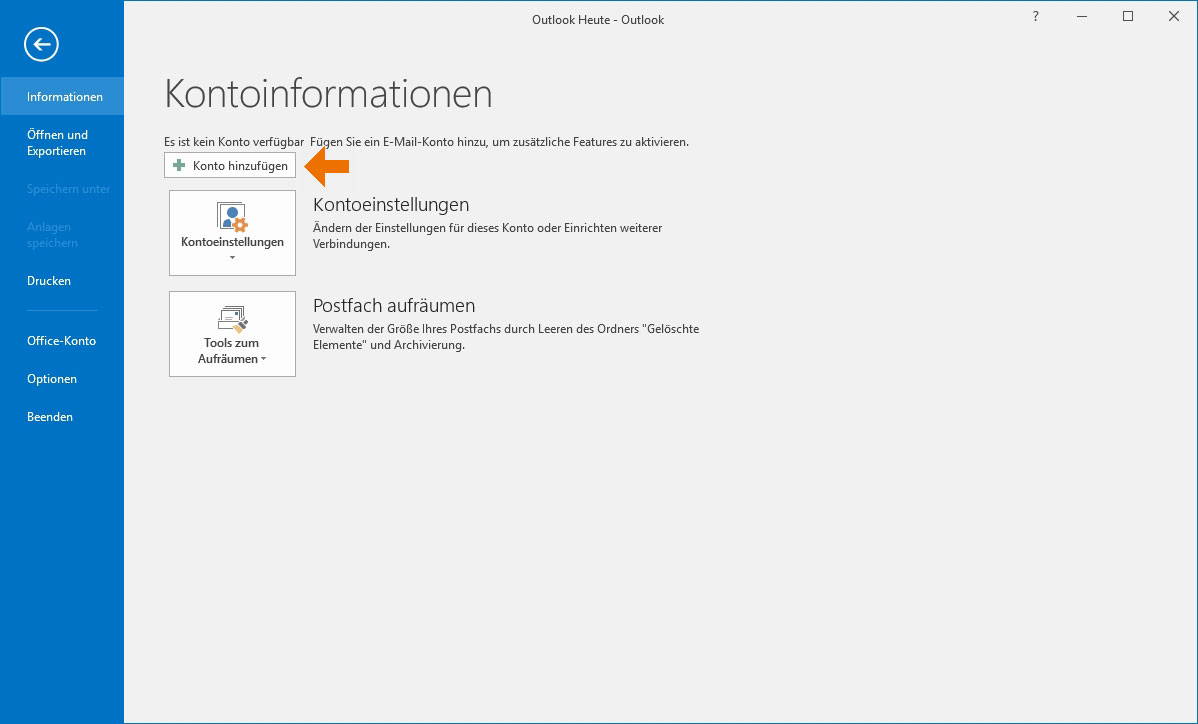
1. Start
Click «File» → «Information» → «Add account» to configure a new account.
2. Select option
Select the option «Manually configure server settings or additional server types» and click «Next».

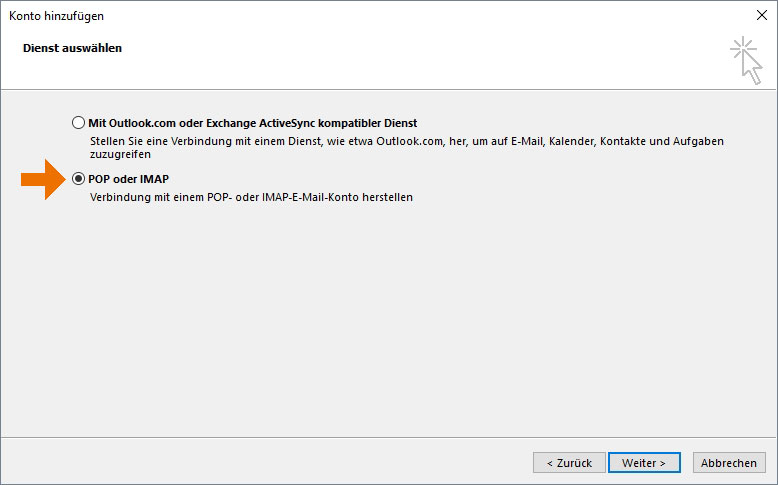
3. Select service
Select the service «POP or IMAP» and then click «Next».
4. Enter the details
Your name: Enter your name in this field. You can also leave this field blank if desired. If left blank, the recipient will see your email address as the sender, otherwise they see the name entered in this field.
Email address: Enter the email address you want to configure. If you are unsure whether the address has already been set up on the server, refer to the guide on setting up an email address in My Panel.
Account type: Select «POP3» or «IMAP». We recommend using IMAP to access your emails because the emails remain saved on the server. This allows you to read emails from different computers and mobile devices as well. With POP3, the emails are deleted from the server after they are downloaded to your computer.
Incoming server: Enter «lx#.hoststar.hosting». (The first letter of the server name is a small «L» like Linux. Replace «#» with the «effective server number of your hosting».) This ensures that the SSL certificate from «hoststar.ch» is queried and no certificate warning is displayed.
Outgoing server: Enter the same details as for the incoming mail server.
User name: The username is the email address you want to configure.
Password: The password you selected for the email address in My Panel. If you do not know the password, refer to the instructions for changing your email password.
After you have entered your details, click «More settings...».

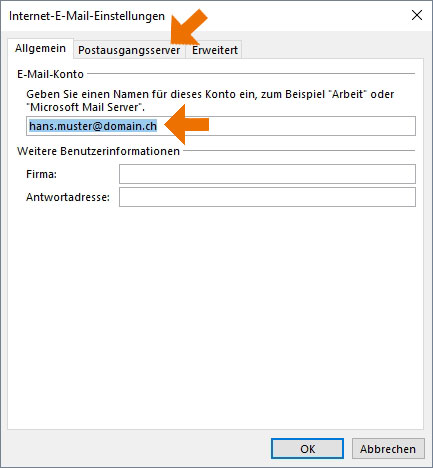
5. More settings
The pop-up window opens and you are automatically redirected to the «General» tab. Enter your e-mail address here under «E-mail account».
Then click on the «Outgoing server» tab at the top.
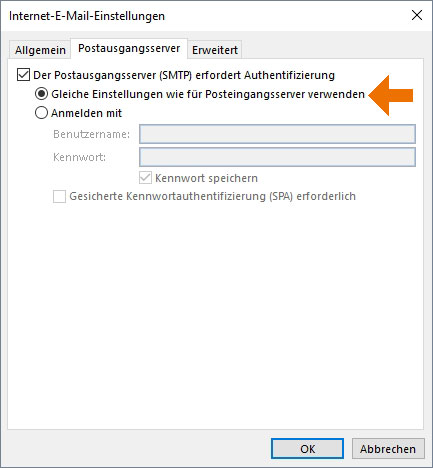
6. Outgoing Server
Here you activate the authentication for the outgoing mail server and select that the same settings should be used as for the incoming mail server.
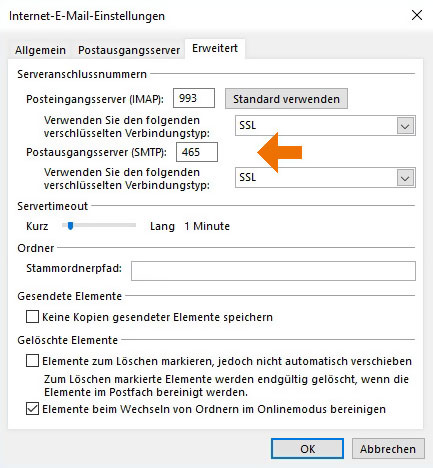
7. Advanced settings
Next, click the «Advanced» tab and change the SMTP port from «25» to «587». If you have enabled SSL for the outgoing mail server, change the port to «465».
The port for the incoming mail server varies depending on the protocol you have selected (POP3 or IMAP) and whether SSL is enabled. Depending on the configuration, select the following port:
- IMAP without SSL: 143
- IMAP with SSL: 993
- POP3 without SSL: 110
- POP3 with SSL: 995
If you are using IMAP, enter «INBOX» in the «Root folder path» field (without quotation marks). Otherwise, emails will not be displayed correctly.
If the account is set up for POP3, you can enable the «Leave a copy of messages on the server» if desired. Please note that the messages should be deleted from the server after a reasonable period. Otherwise, your mailbox may fill up.
Then click «OK».
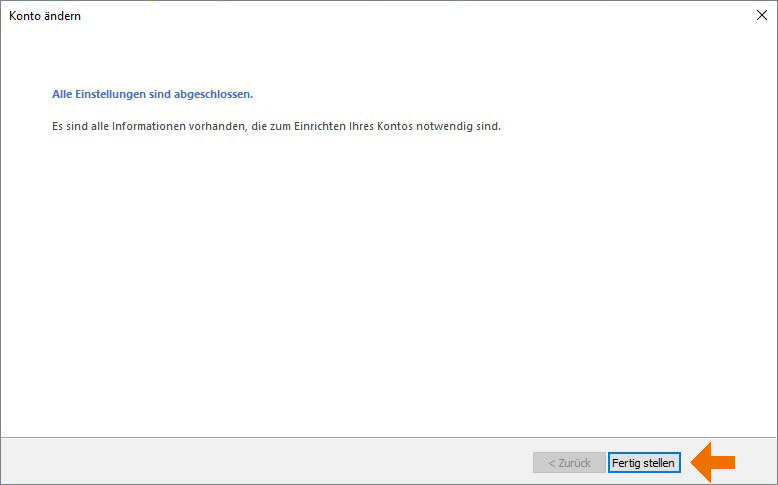
8. Test and finish
Click «Next» to check your account settings.
If you find any errors there, please check your settings and try again.
Then click «Next» and then «Finish» to exit the wizard. The e-mail account is now set up