Image albums
You can manage your albums and images under «Image albums».
After «logging into Designer», follow these steps:
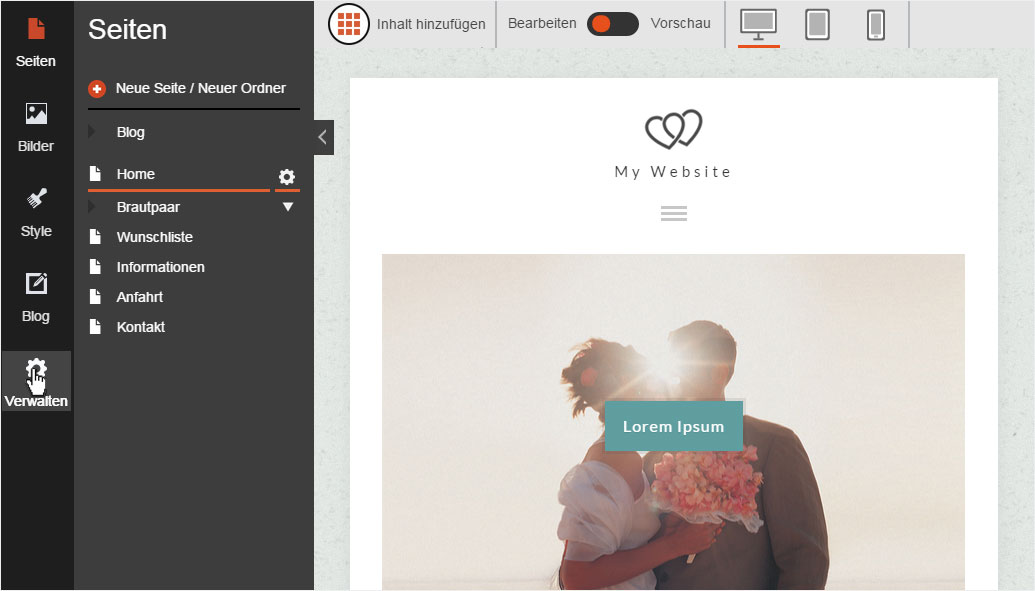
1. Navigate
Click the «Manage» menu item and then click «Image albums».
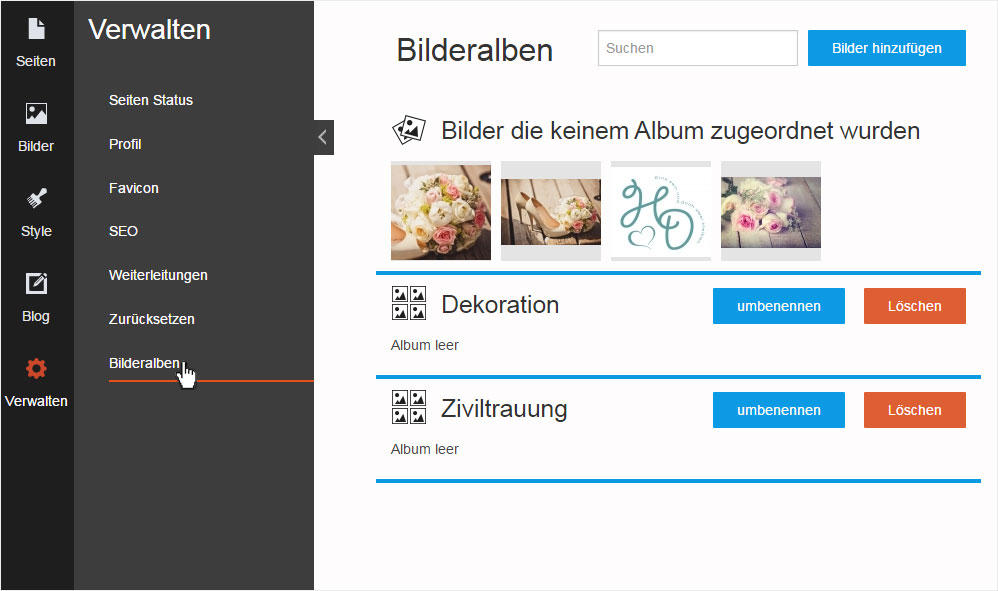
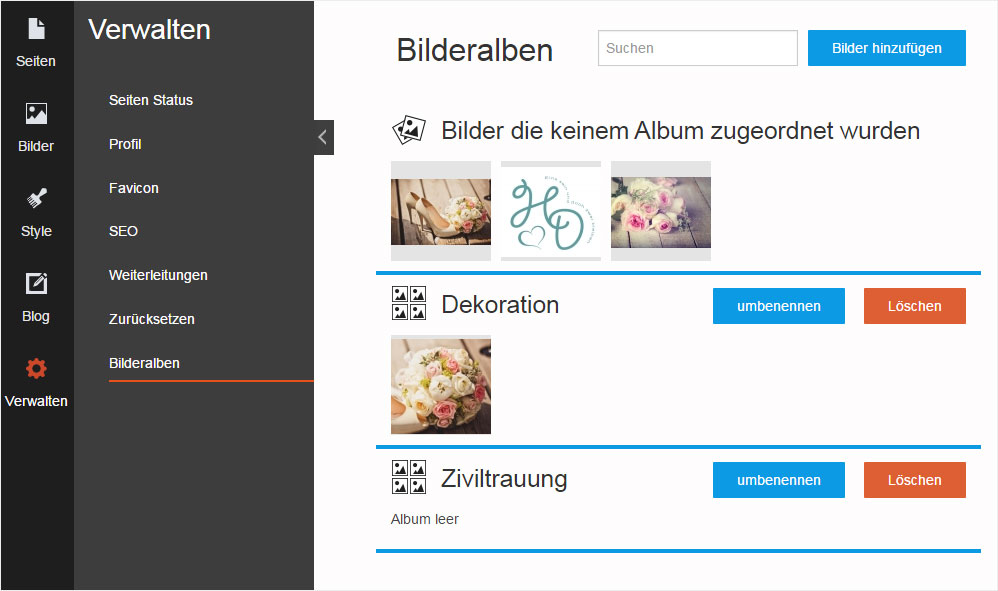
2. Image albums overview
Here you see both images that do not belong to any album and existing image albums.
This view offers you several different editing and administrative options:
- Add image data (SEO)
- Add an image to an album
- Delete image
- Rename album
- Delete album
- Add images
- Find image
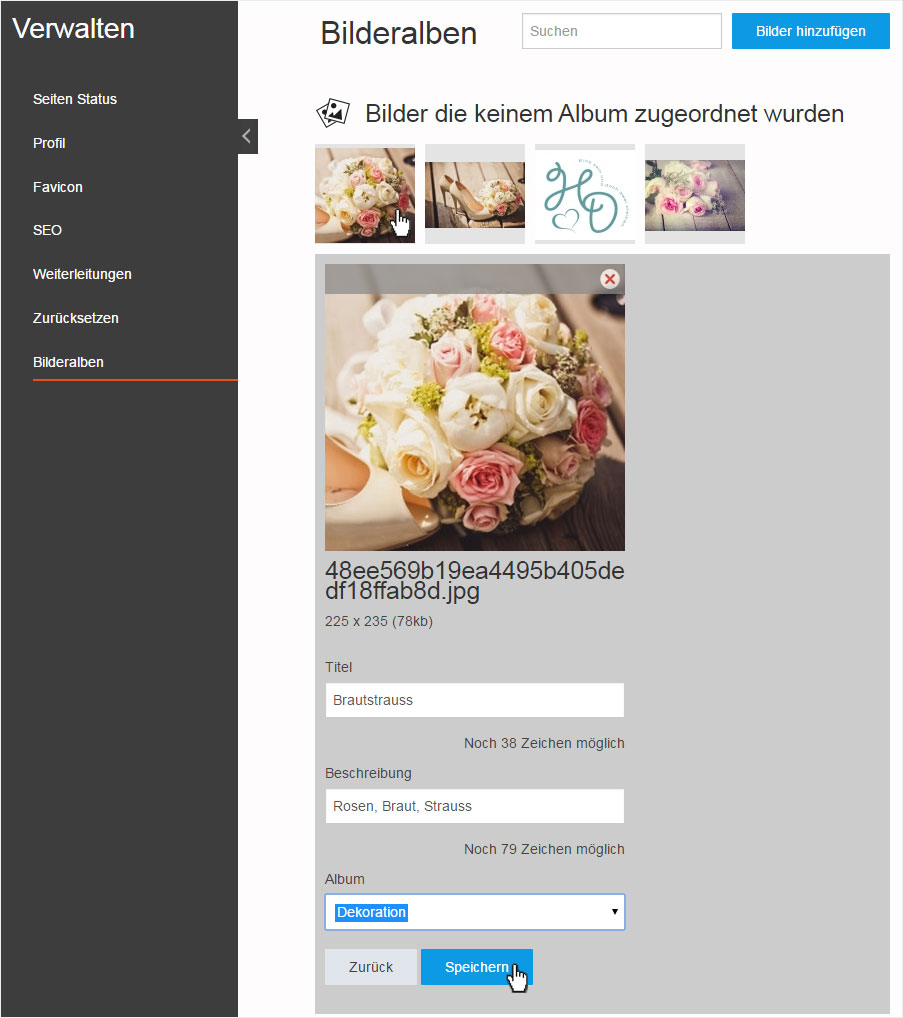
Add image data (SEO)
Click the desired image to give it a title and description that can be read by a search engine. Editing mode opens. Enter the desired «Title» for the image and «Description» and then click «Save».
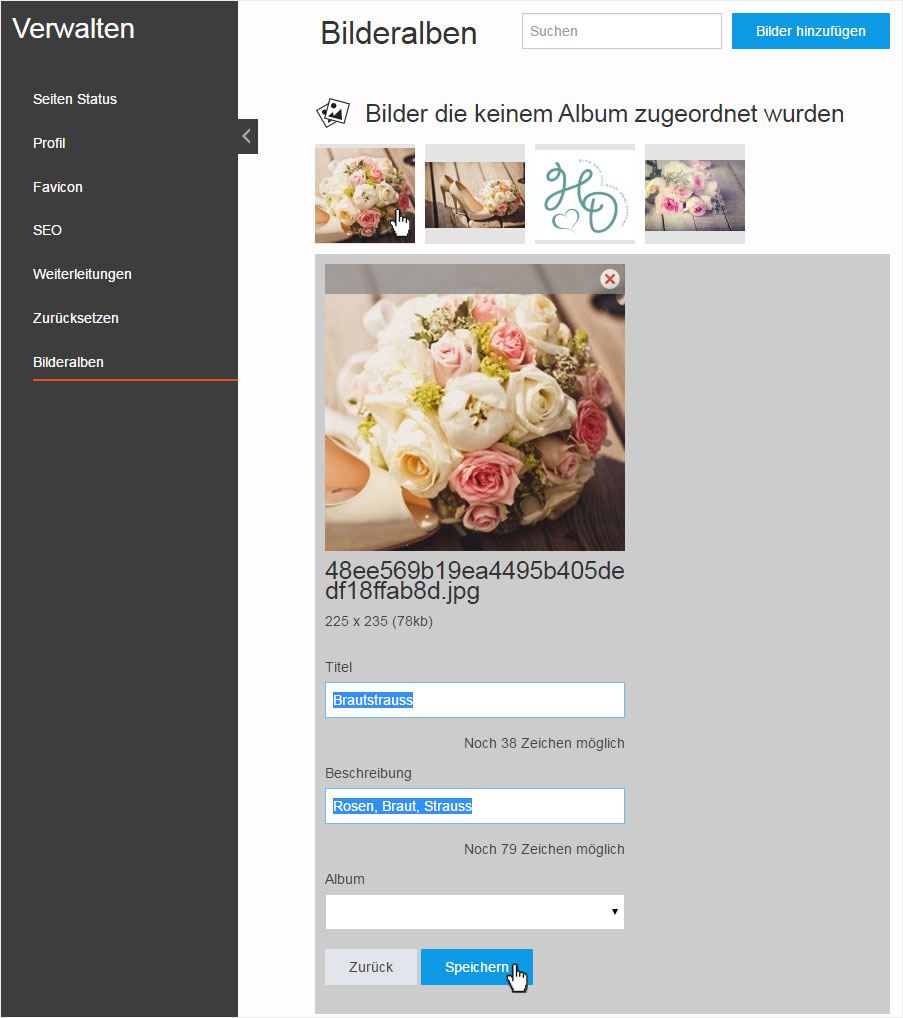
Add an image to an album
To add an image to an album, click the desired image. Editing mode opens. Select the desired album under «Album» and then click «Save».
In the overview that appears, you will now see the image in the selected album.
Delete image
To delete an image, click the desired image. Editing mode opens. Now click the red «X» icon in the image.

A warning message appears. If you are certain you want to delete the selected image from Designer, confirm your choice by clicking «OK».
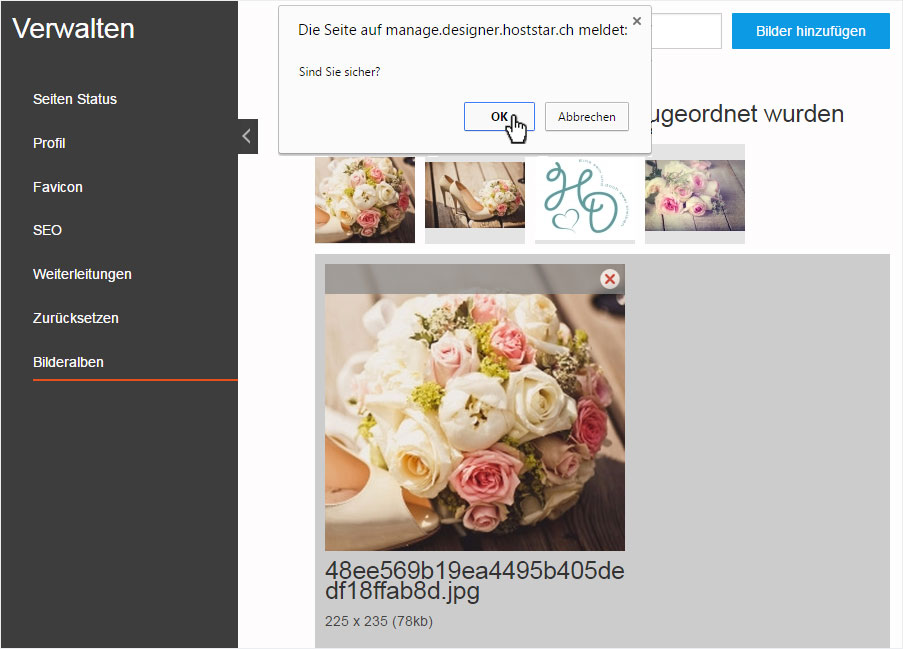
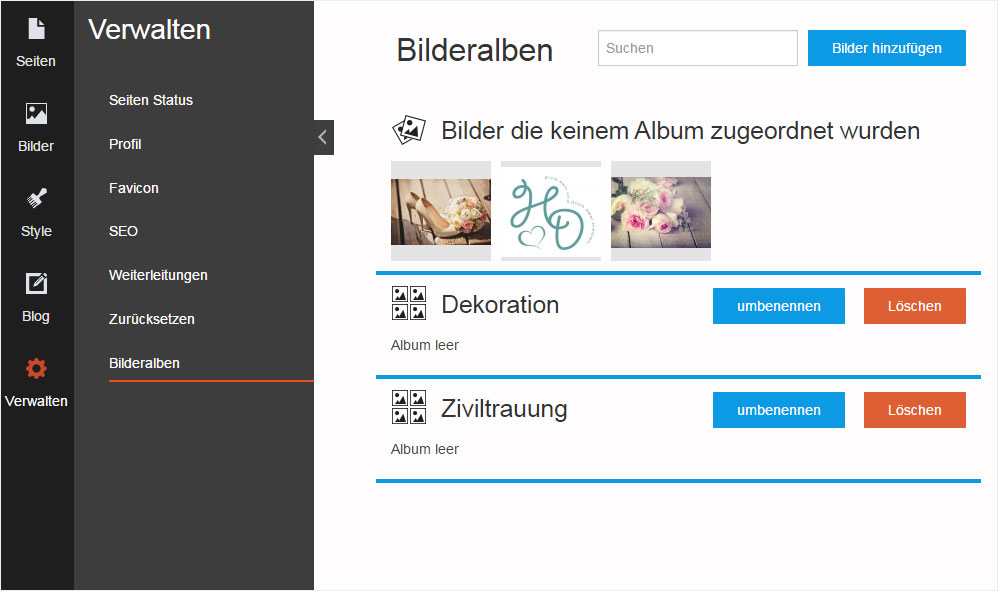
The image is then deleted and then disappears from the overview.
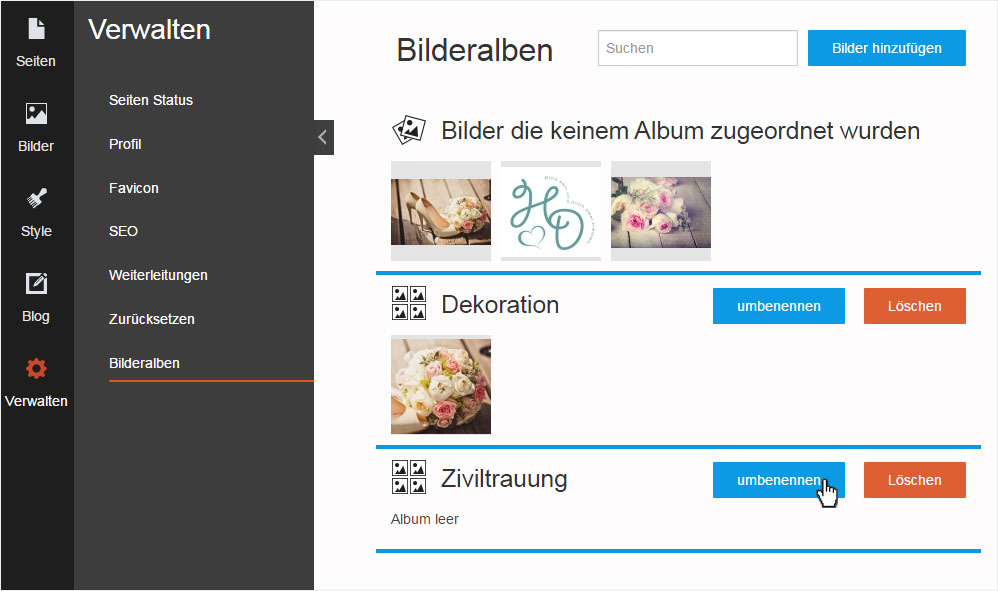
Rename album
To rename an album, click «Rename» next to the desired album.
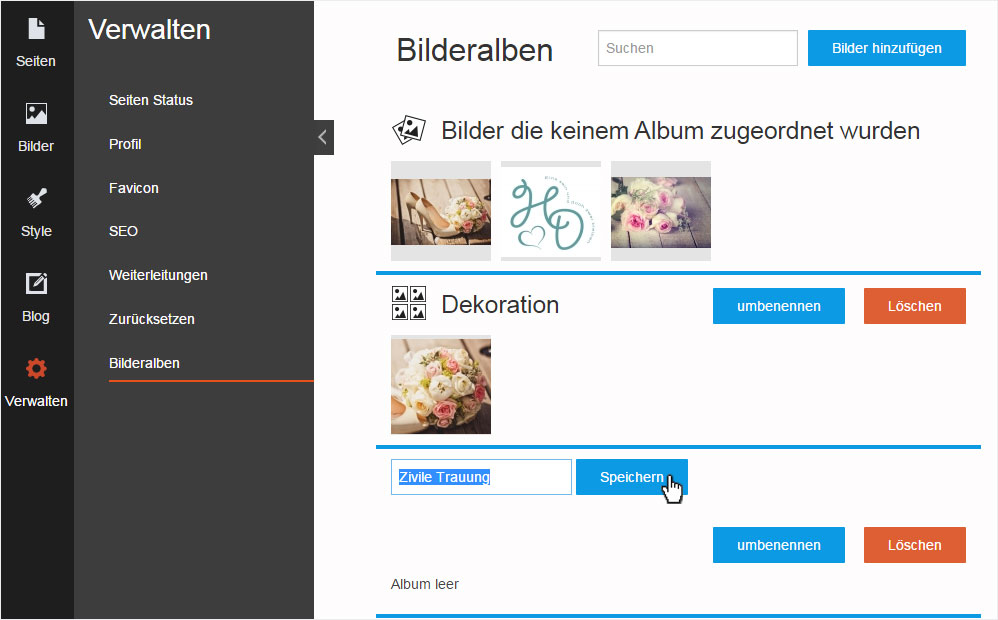
Make changes in the text field for the album name, and apply your changes by clicking «Save».
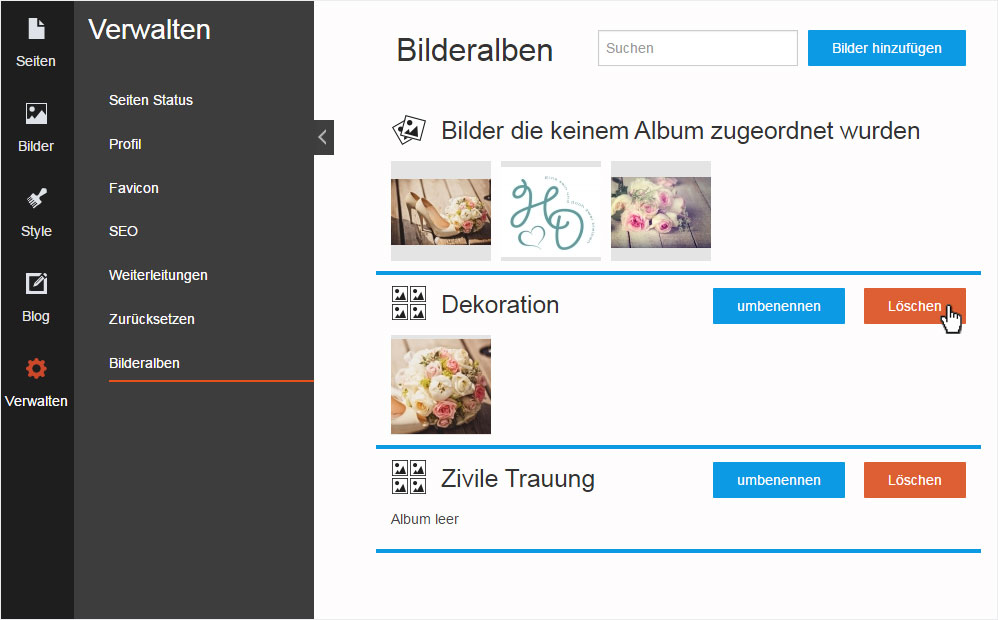
Delete album
To delete an album, click «Delete» next to the desired album.
A warning message appears. If you are certain you want to delete this album from Designer, confirm your choice by clicking «OK».
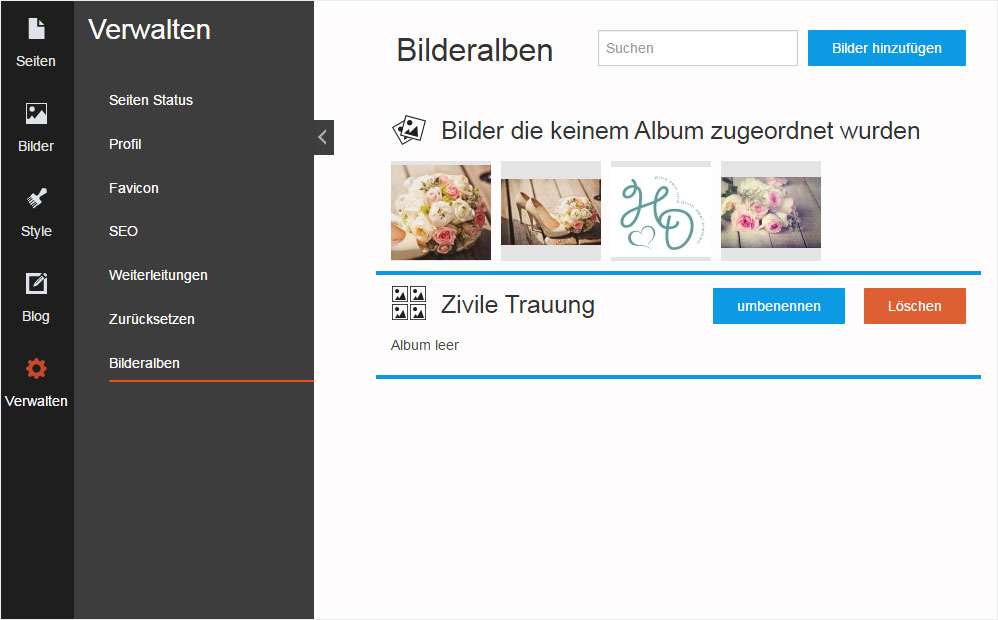
The images that were assigned to this album are not deleted. Instead they are listed in the directory as «Images not in any album».

The album is then deleted and disappears from the overview. As explained above, the images appear under «Images not in any album».
Add images
To add one or more images, click «Add images».
You are then redirected to the «Add images» area. Proceed as described in these instructions (from step 3).

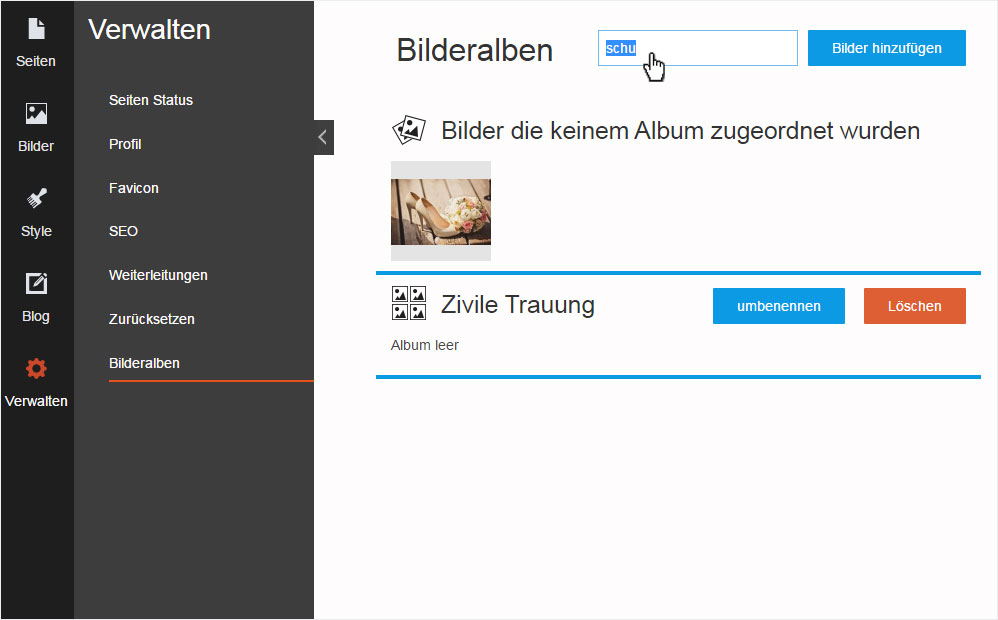
Find image
Use the integrated image search feature to quickly find images. The search feature returns results as soon as you begin typing. The more specific your search criteria is, the more accurate the hits will be.