Set up blog
If you have chosen a design with integrated blog functionality, you can set it up according to your needs.
After «logging into Designer», follow these steps:
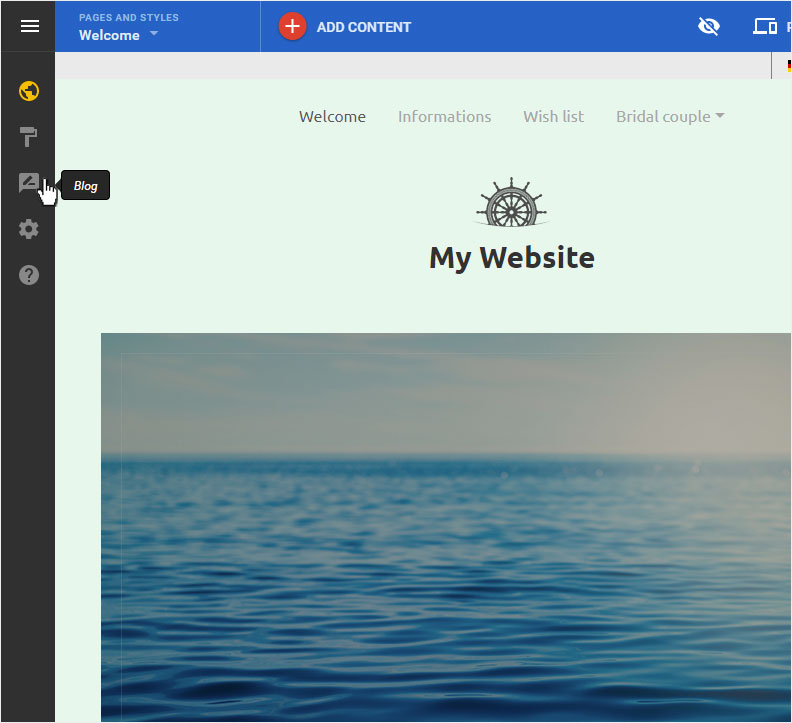
1. Navigate
You begin on the home page of Designer's editor and are thus in the «Site editor» view.
2. Blog details
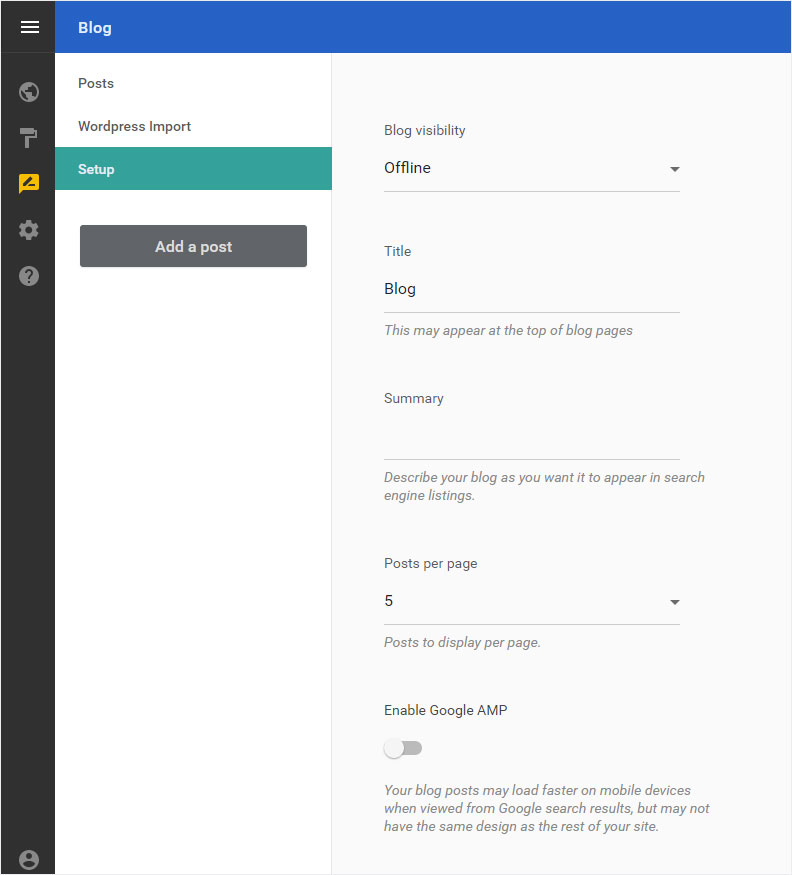
You can now see the «Posts» page of the «blog». Select the menu item «Setup».

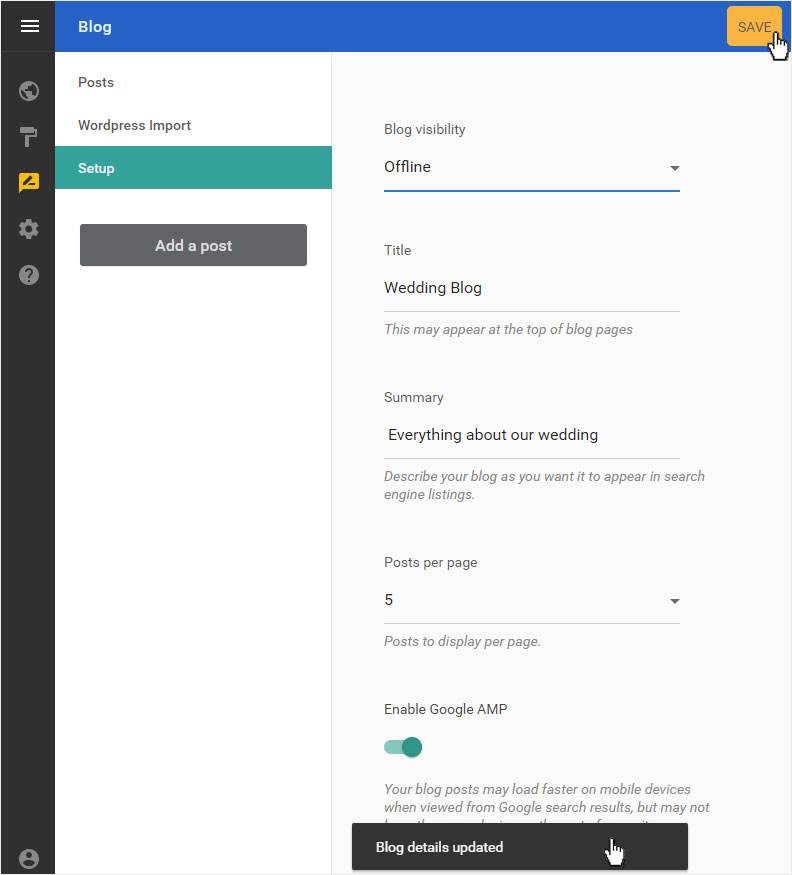
3. Setup
You can make various changes to the configuration in this view.
Under «Blog visibility», you can set whether you want your blog to be «Online», or «Offline» – while it is undergoing construction, for example.
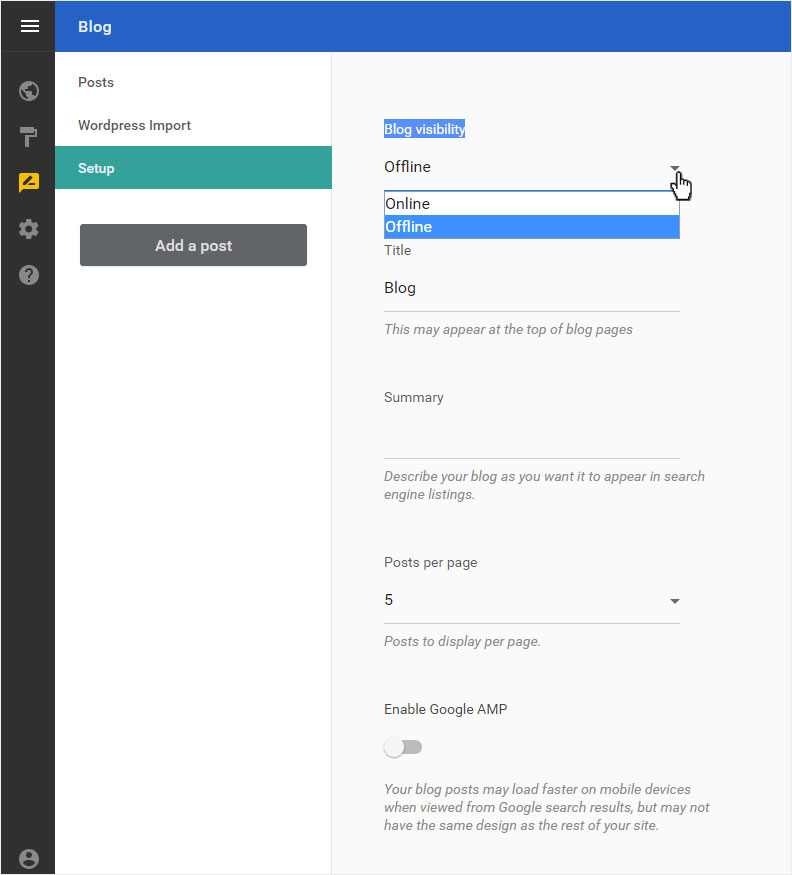
Give your blog a name under «Title» («Wedding blog» in this example).
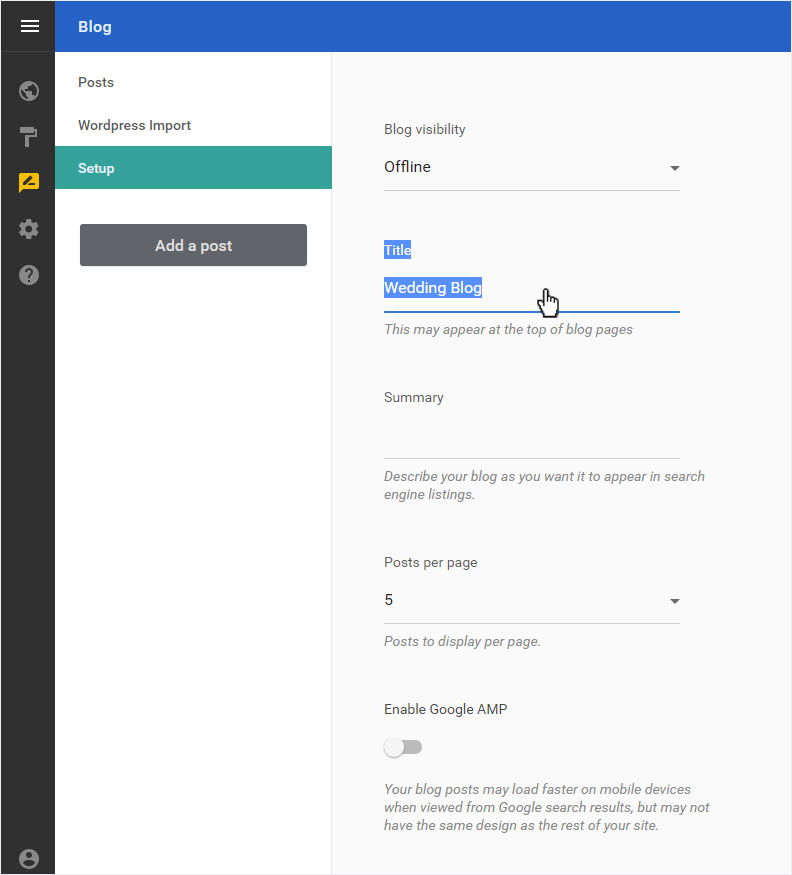
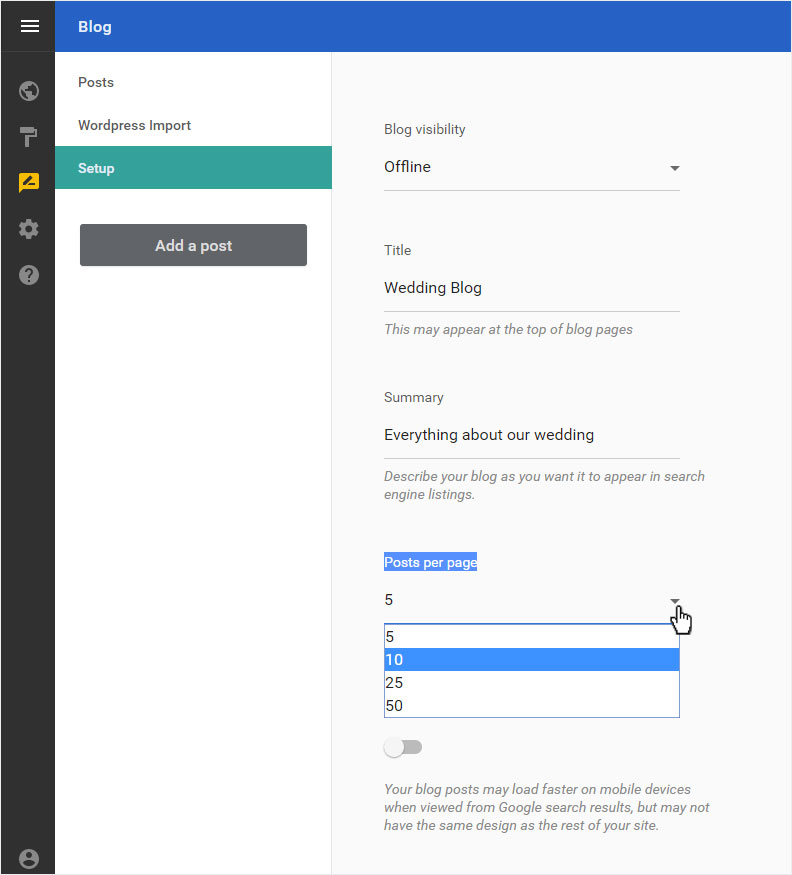
Briefly describe your blog under «Summary».

You can specify how many posts are displayed per page under «Posts per page». You can choose from between 5, 10, 25 or 50 posts per page.
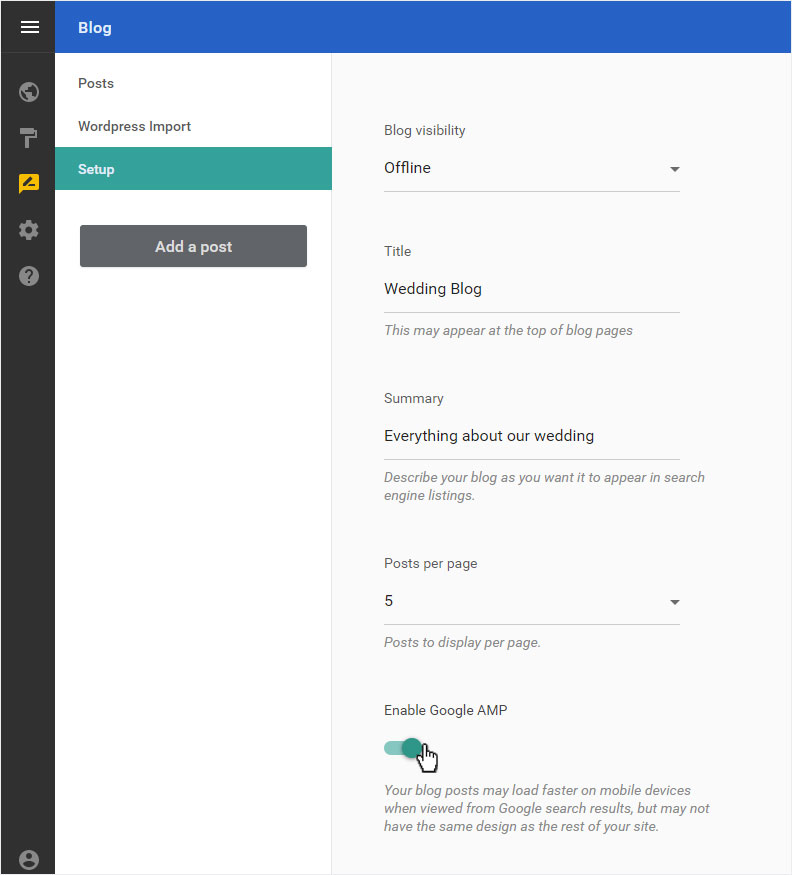
Under «Enable Google AMP» you can activate or deactivate it. We recommend that you activate «Google AMP».
Your blog posts are loaded and displayed faster in the Mobile View. So these are more Google-friendly.
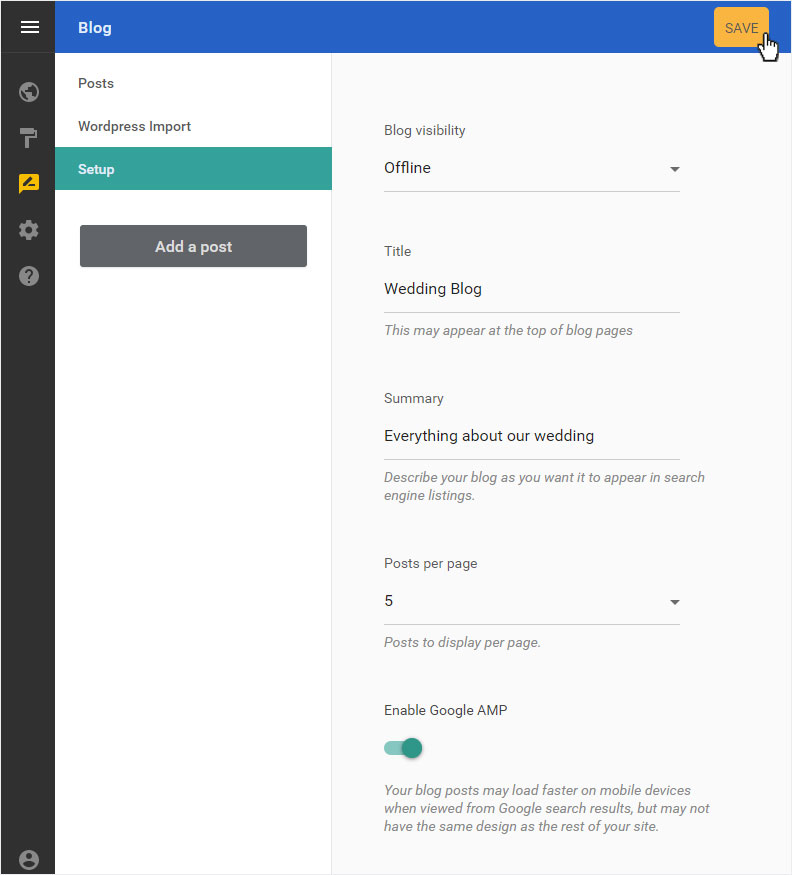
4. Save
After you have finished configuring the settings, click «SAVE».
5. Success message
A success message will appear below.
6. Page view
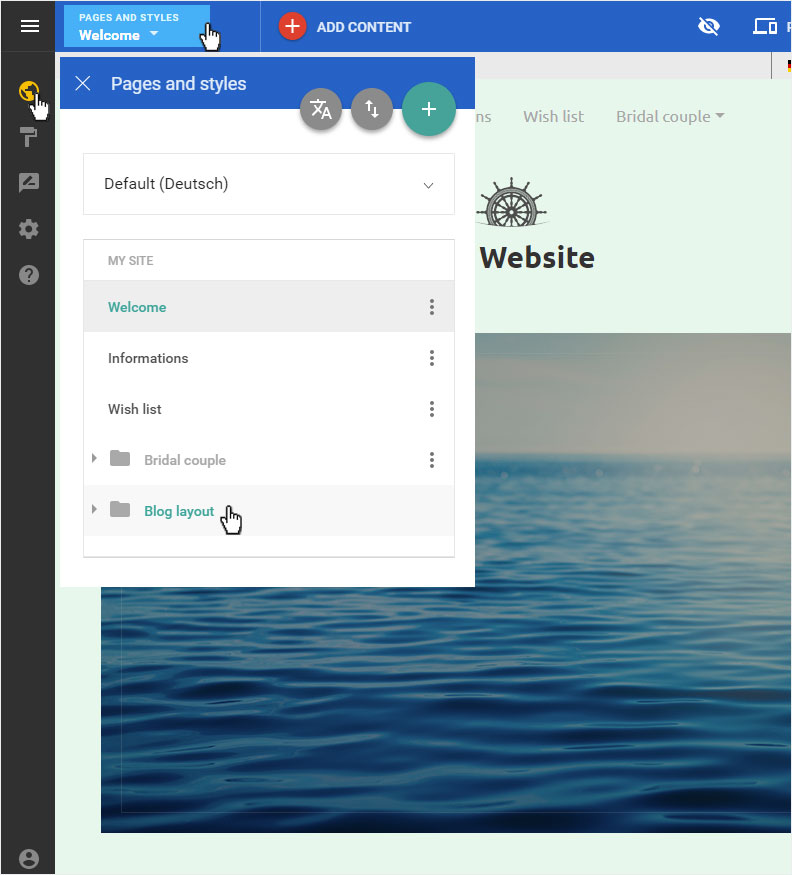
By selecting «Site Editor» in the menu, you get to the page overview. Click on «Pages and Styles» in the blue header bar.
This area will be opened on the left and the blog menu item will now be displayed as a «Blog Layout».