Add image
You have the following options for uploading image files to Designer:
After «logging into Designer», follow these steps:
1. Navigate
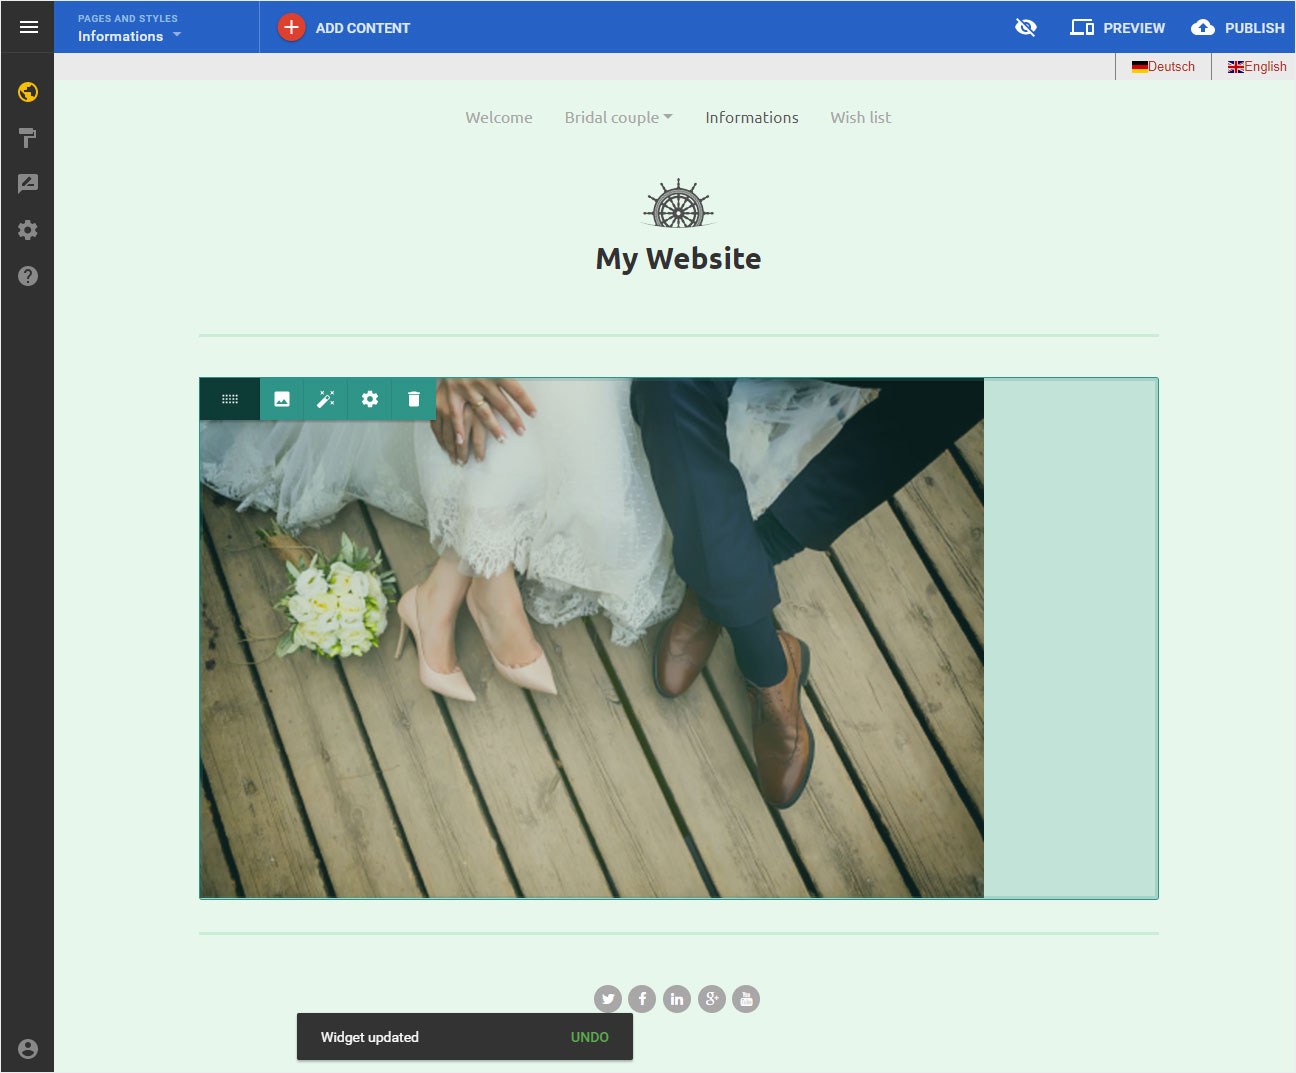
You begin on the home page of Designer's editor and are thus in the «Site editor» view.
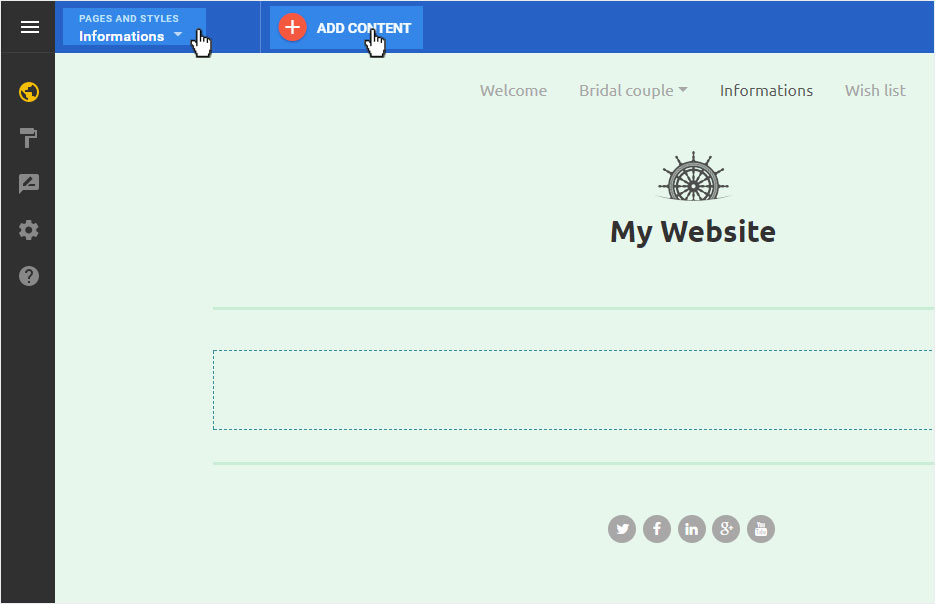
To get to the desired page, click on «Pages and Styles» on the blue header bar. Select the desired page.
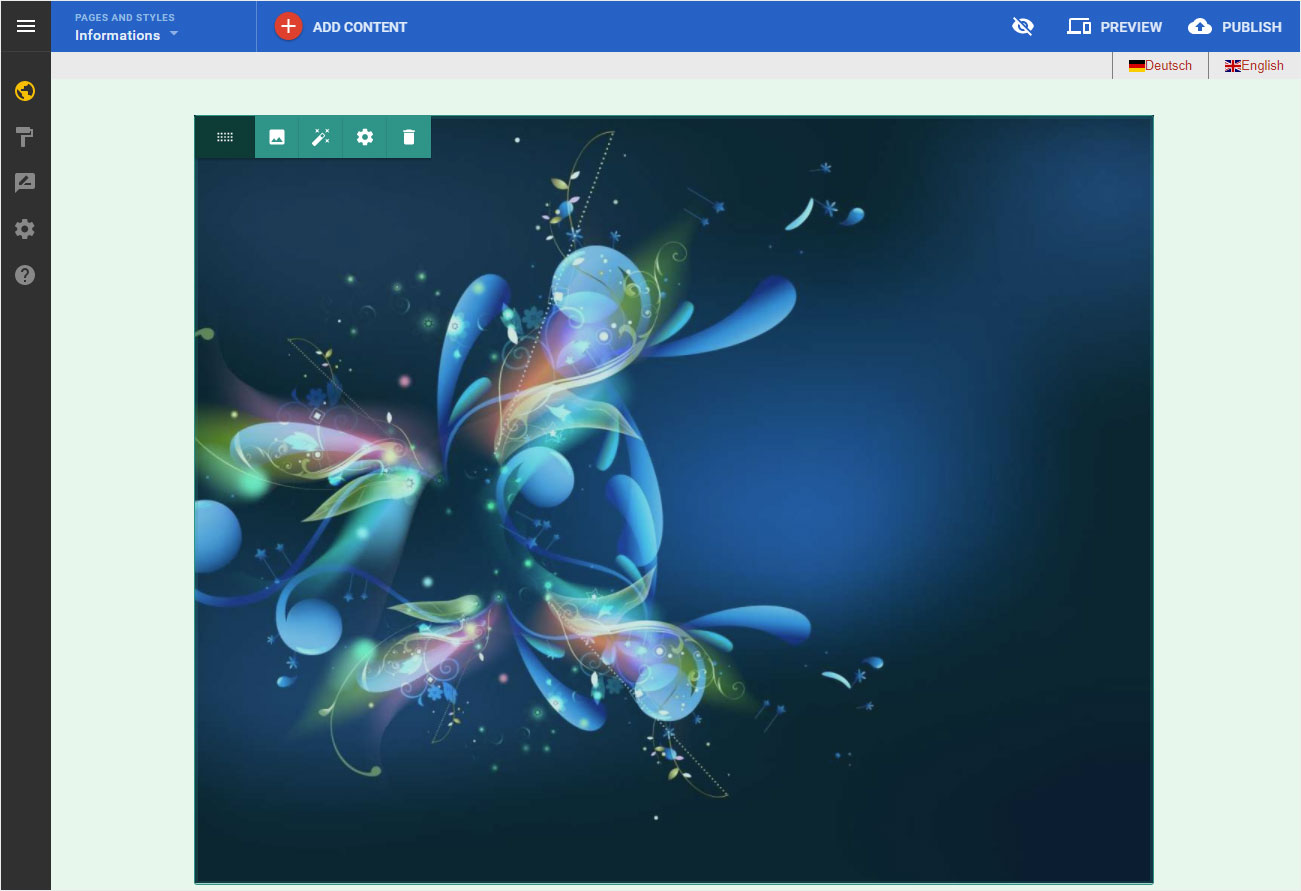
Next, click the menu item «Add Content» or the «plus symbol in the red circle».
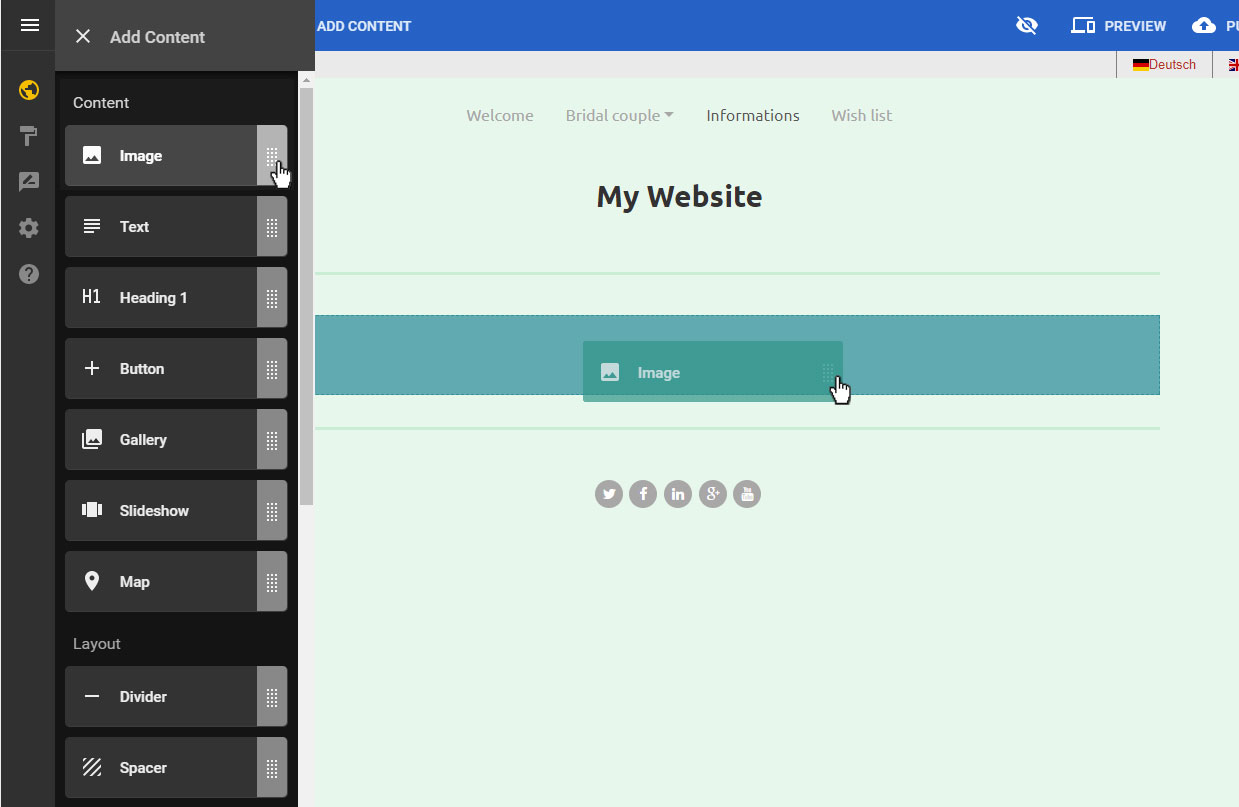
A menu with a scrollbar opens. Here you have more or less elements (depending on the Designer subscription) available.
You can now insert the desired element (here «Image») in the «content area» using drag & drop.
2. Add picture
A pop-up window opens in which you can select by clicking on the respective button whether you want to upload the image as an «Upload» from your device, select a «Recent» added image, choose to use image from «Facebook» or one of the royalty-free images under «Stock image».
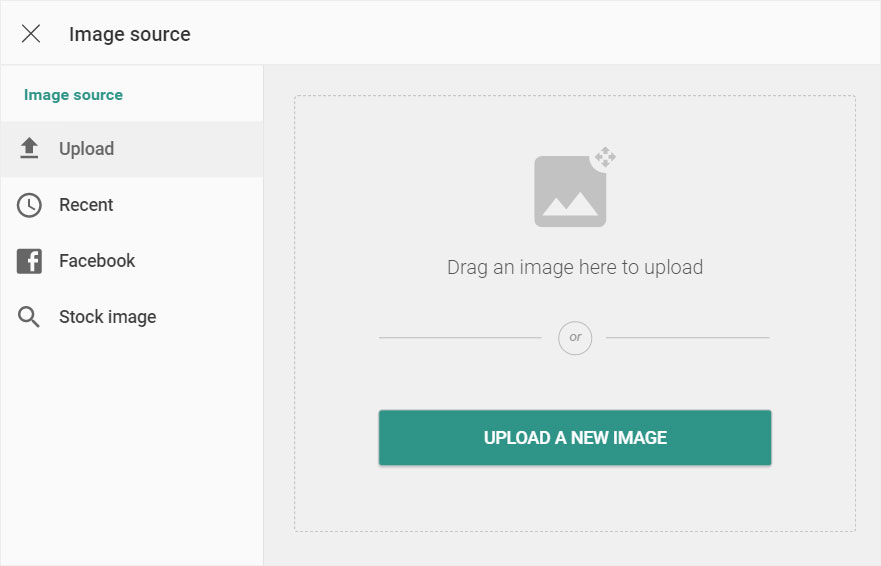
2.1 Upload
If you have chosen «Upload», you can drag and drop the desired file from the folder directory into the pop-up window.
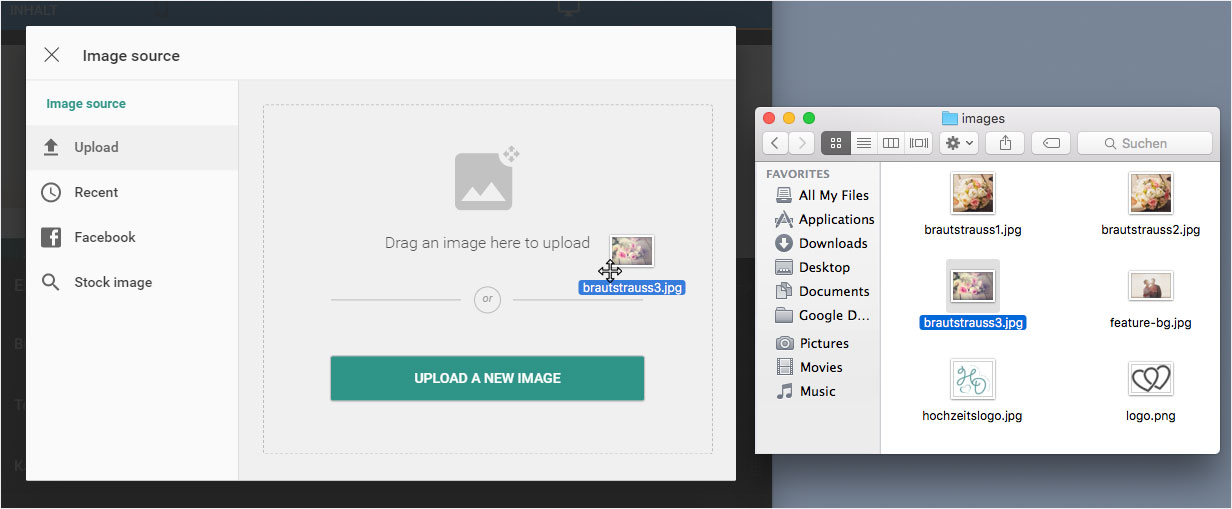
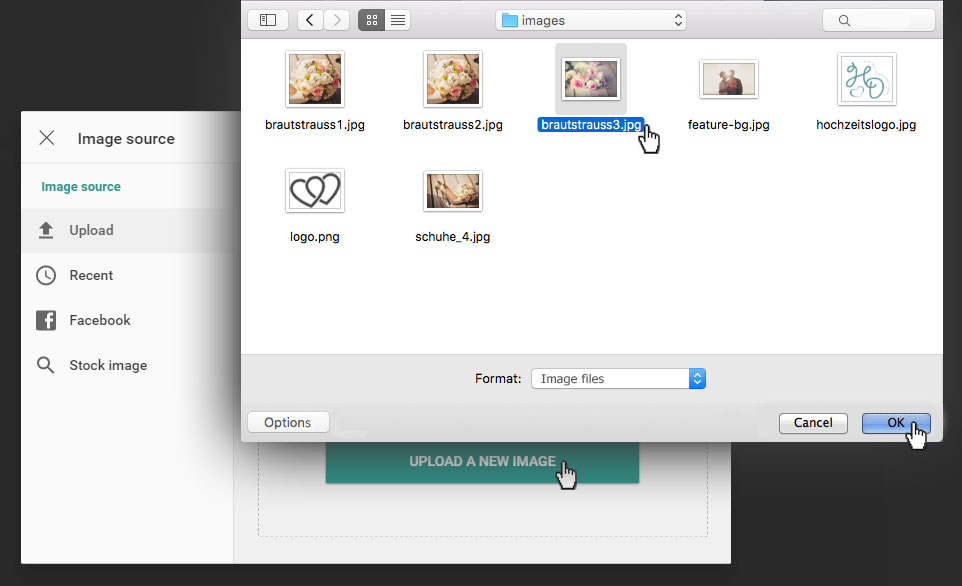
Or otherwise click on the button "UPLOAD A NEW IMAGE" in the corresponding folder directory and click on the desired image file.
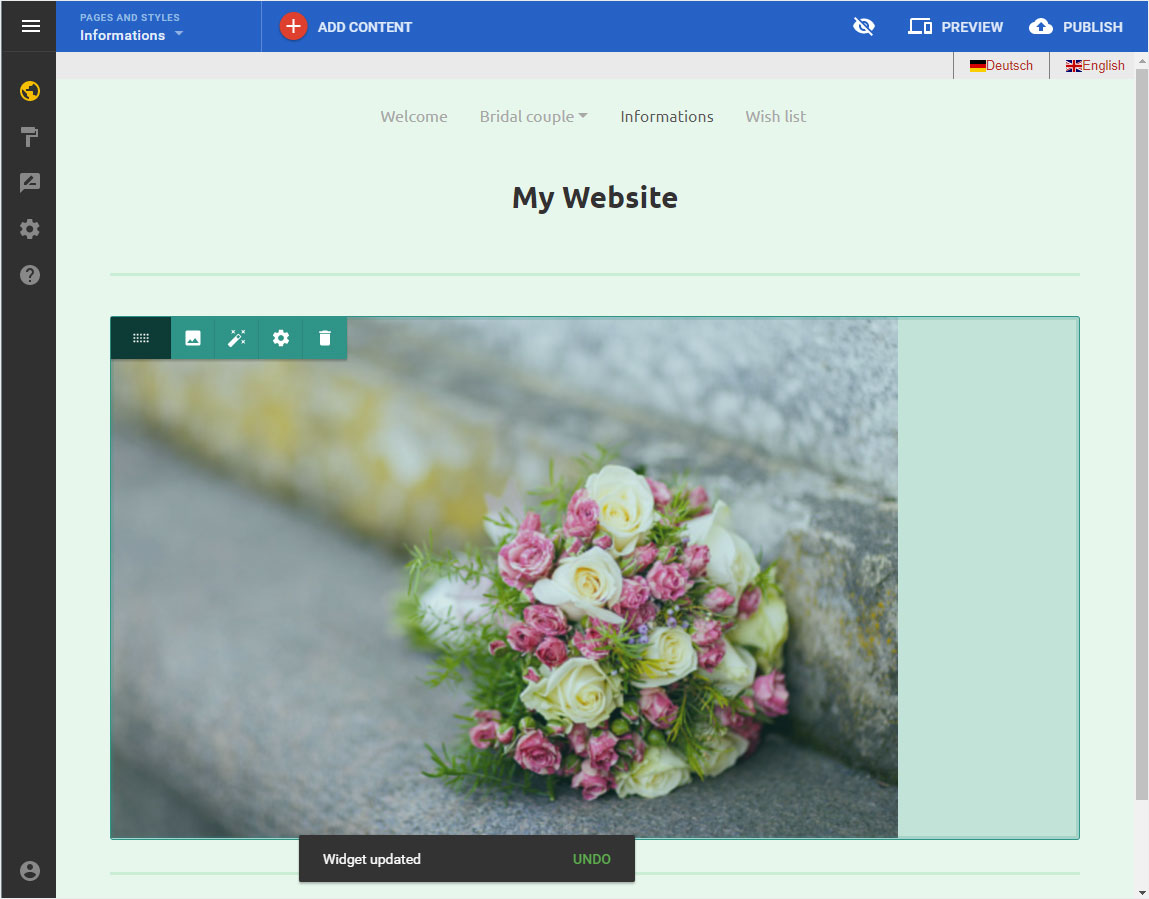
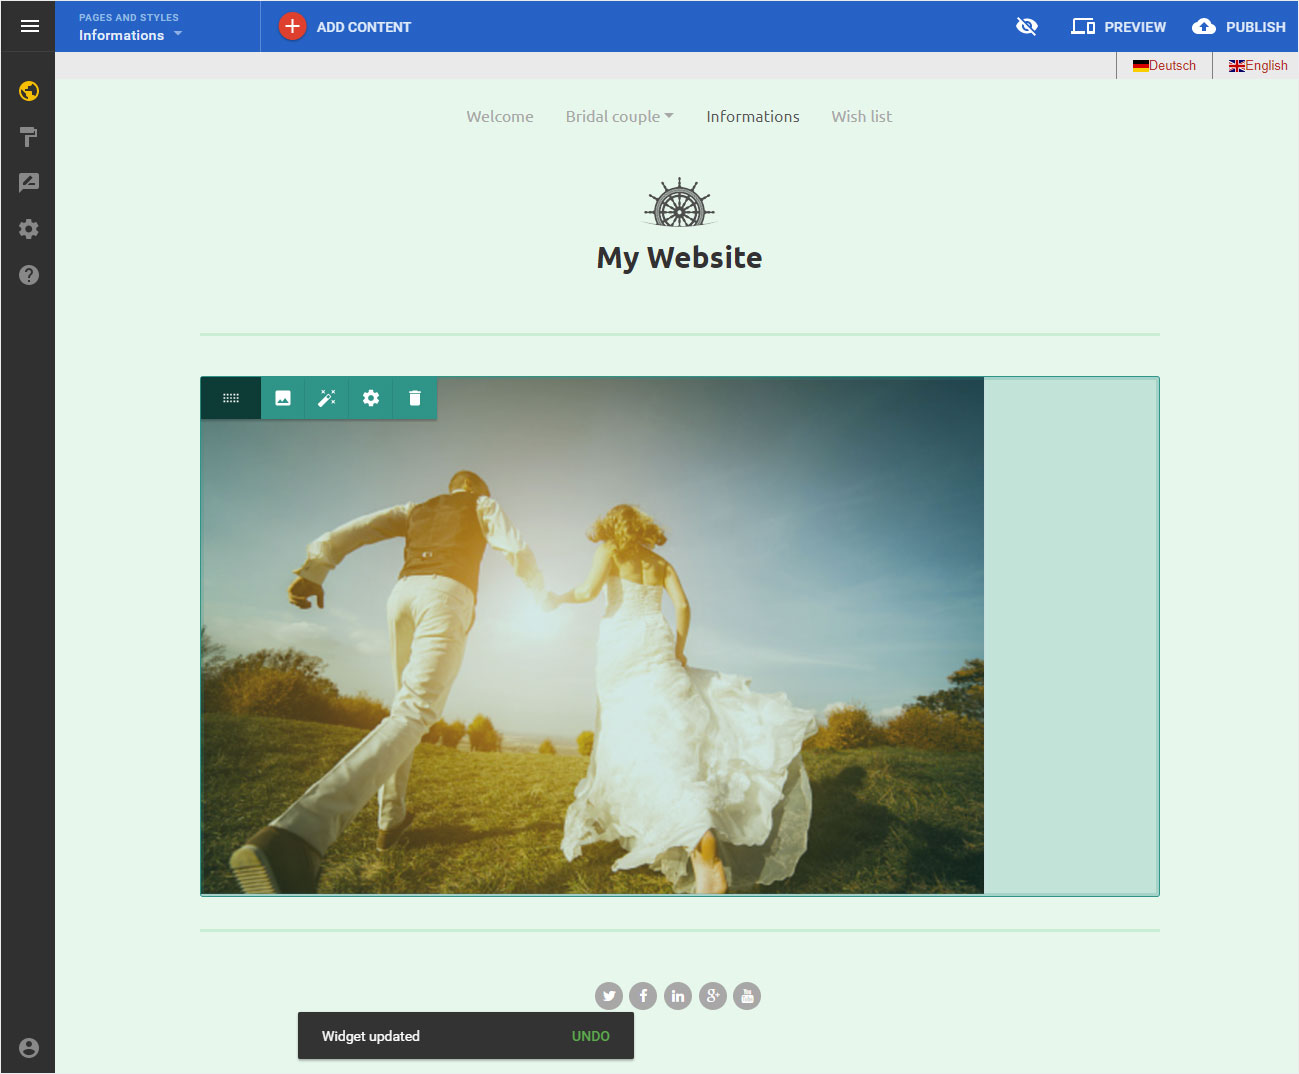
The image is immediately saved in the image management of the Designer and you will be automatically redirected back to the overview page where you can now see the added image.
2.2 Recent
If you have selected «Recent», you can select an image that you have uploaded or used recently. Click on the desired image to select and use it.
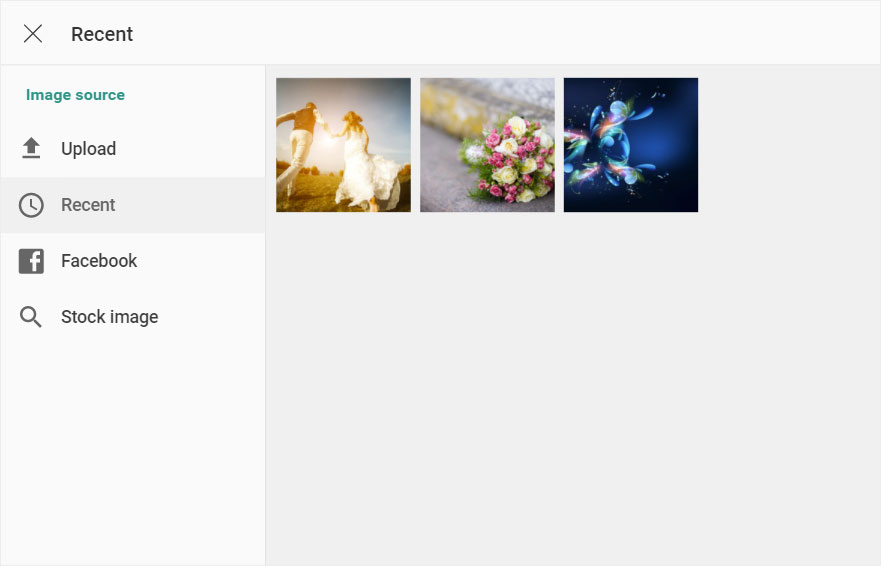
You will be automatically redirected back to the overview page where you can now see the added image.
2.3 Facebook
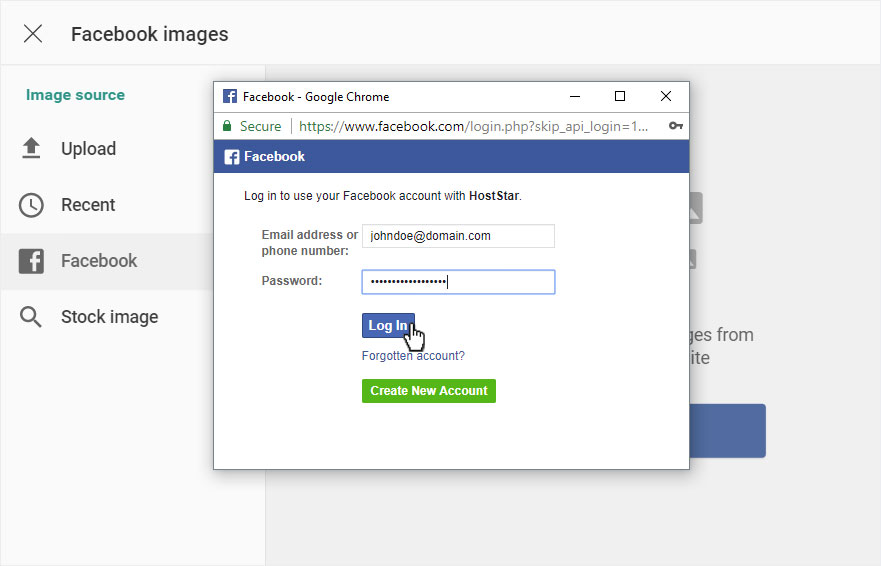
If you have chosen «Facebook», you must first connect to your Facebook account. Click on «Log In to Facebook».

The login popup of Facebook opens. Log in with your Facebook credentials and then click on «Log In».
The Designer connects to Facebook and displays the folder structure used in Facebook. Select the folder and then the desired image by clicking on it.

You will be automatically redirected back to the overview page where you can now see the added image.
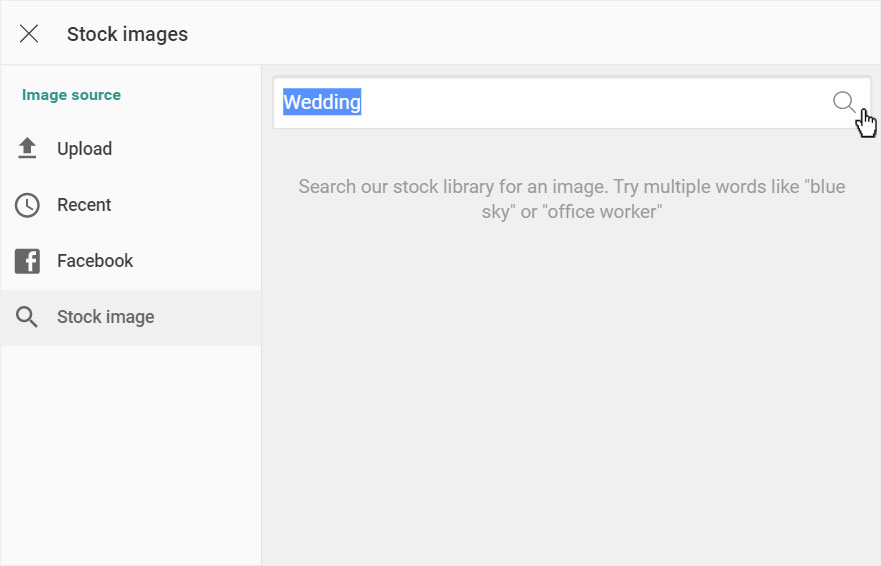
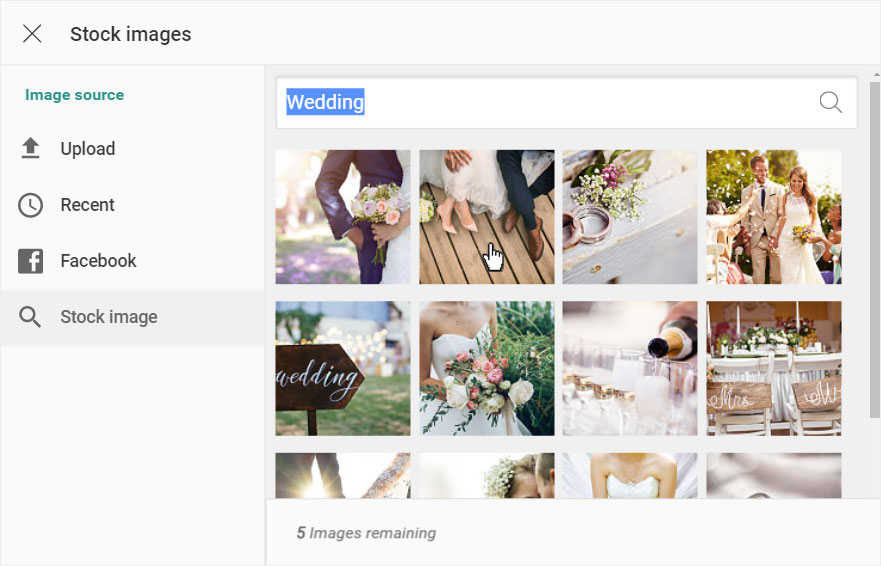
2.4 stock image
If you have selected «Stock image», you can search for the desired subject in the corresponding field. Enter a search word (here Wedding) and then click on the «magnifying glass» symbol.
Please note that depending on your subscription, a certain number of photo credits are available for the Designer (StarEntry: 5, StarBiz: 10, StarPlus: 20).
The search starts and you will be shown suitable pictures based on the entered search term. Select the desired image and click on it.
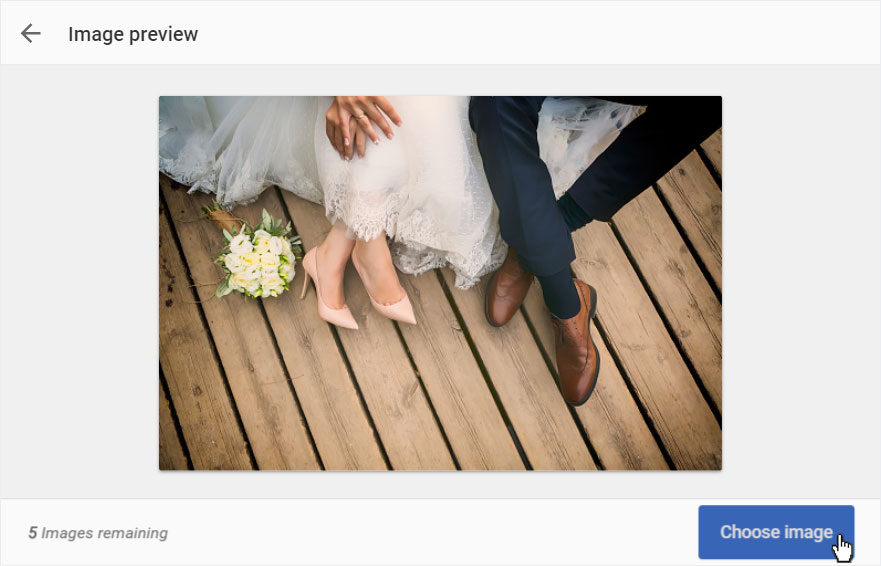
The selected image will be displayed along with your credit balance (1 Credit = 1 image). Click on the button «Choose image» to save the image in the image directory of the Designer.
Please note that each saved image cannot be deleted or exchanged. Your choice is final. The image credit is debited and the image is irrevocably stored in your Designer Image Directory.
The image is immediately saved in the image management of the Designer and you will be automatically redirected back to the overview page where you can now see the added image.